Getting Started
Racks
Pads
Featured Facility Video
5 YEAR MANUFACTURER'S LIMITED WARRANTY
WARRANTIES, TERMS AND CONDITIONS
Manufacturer warrants to the Ultimate Consumer/Owner that its products areguaranteed against all defects in workmanship for a period of 5 years from
the date of shipment. Manufacturer further warrants that its product is
guaranteed not to exhibit UV degradation or loss of tensile strength greater
than 50 percent during said time period, and further guarantees that its
product will not have a pile height decrease in excess of fifty percent
(50%) as a result of normal wear and tear with properly maintained infill
levels as required. API Standards related to pile fiber height shall be
established pursuant to ASTM Test D5823.
The life expectancy of artificial grass is dependent on the intensity of
use, as well as local climatic conditions. The more a product is being used
and the harsher the climate, the quicker its lifetime will pass. The
intensity of use is a combination of several factors including the usage in
hours per day, the number of people that sport or play (simultaneously) on
the pitch, the type of sport or play and the type of footwear that is used.
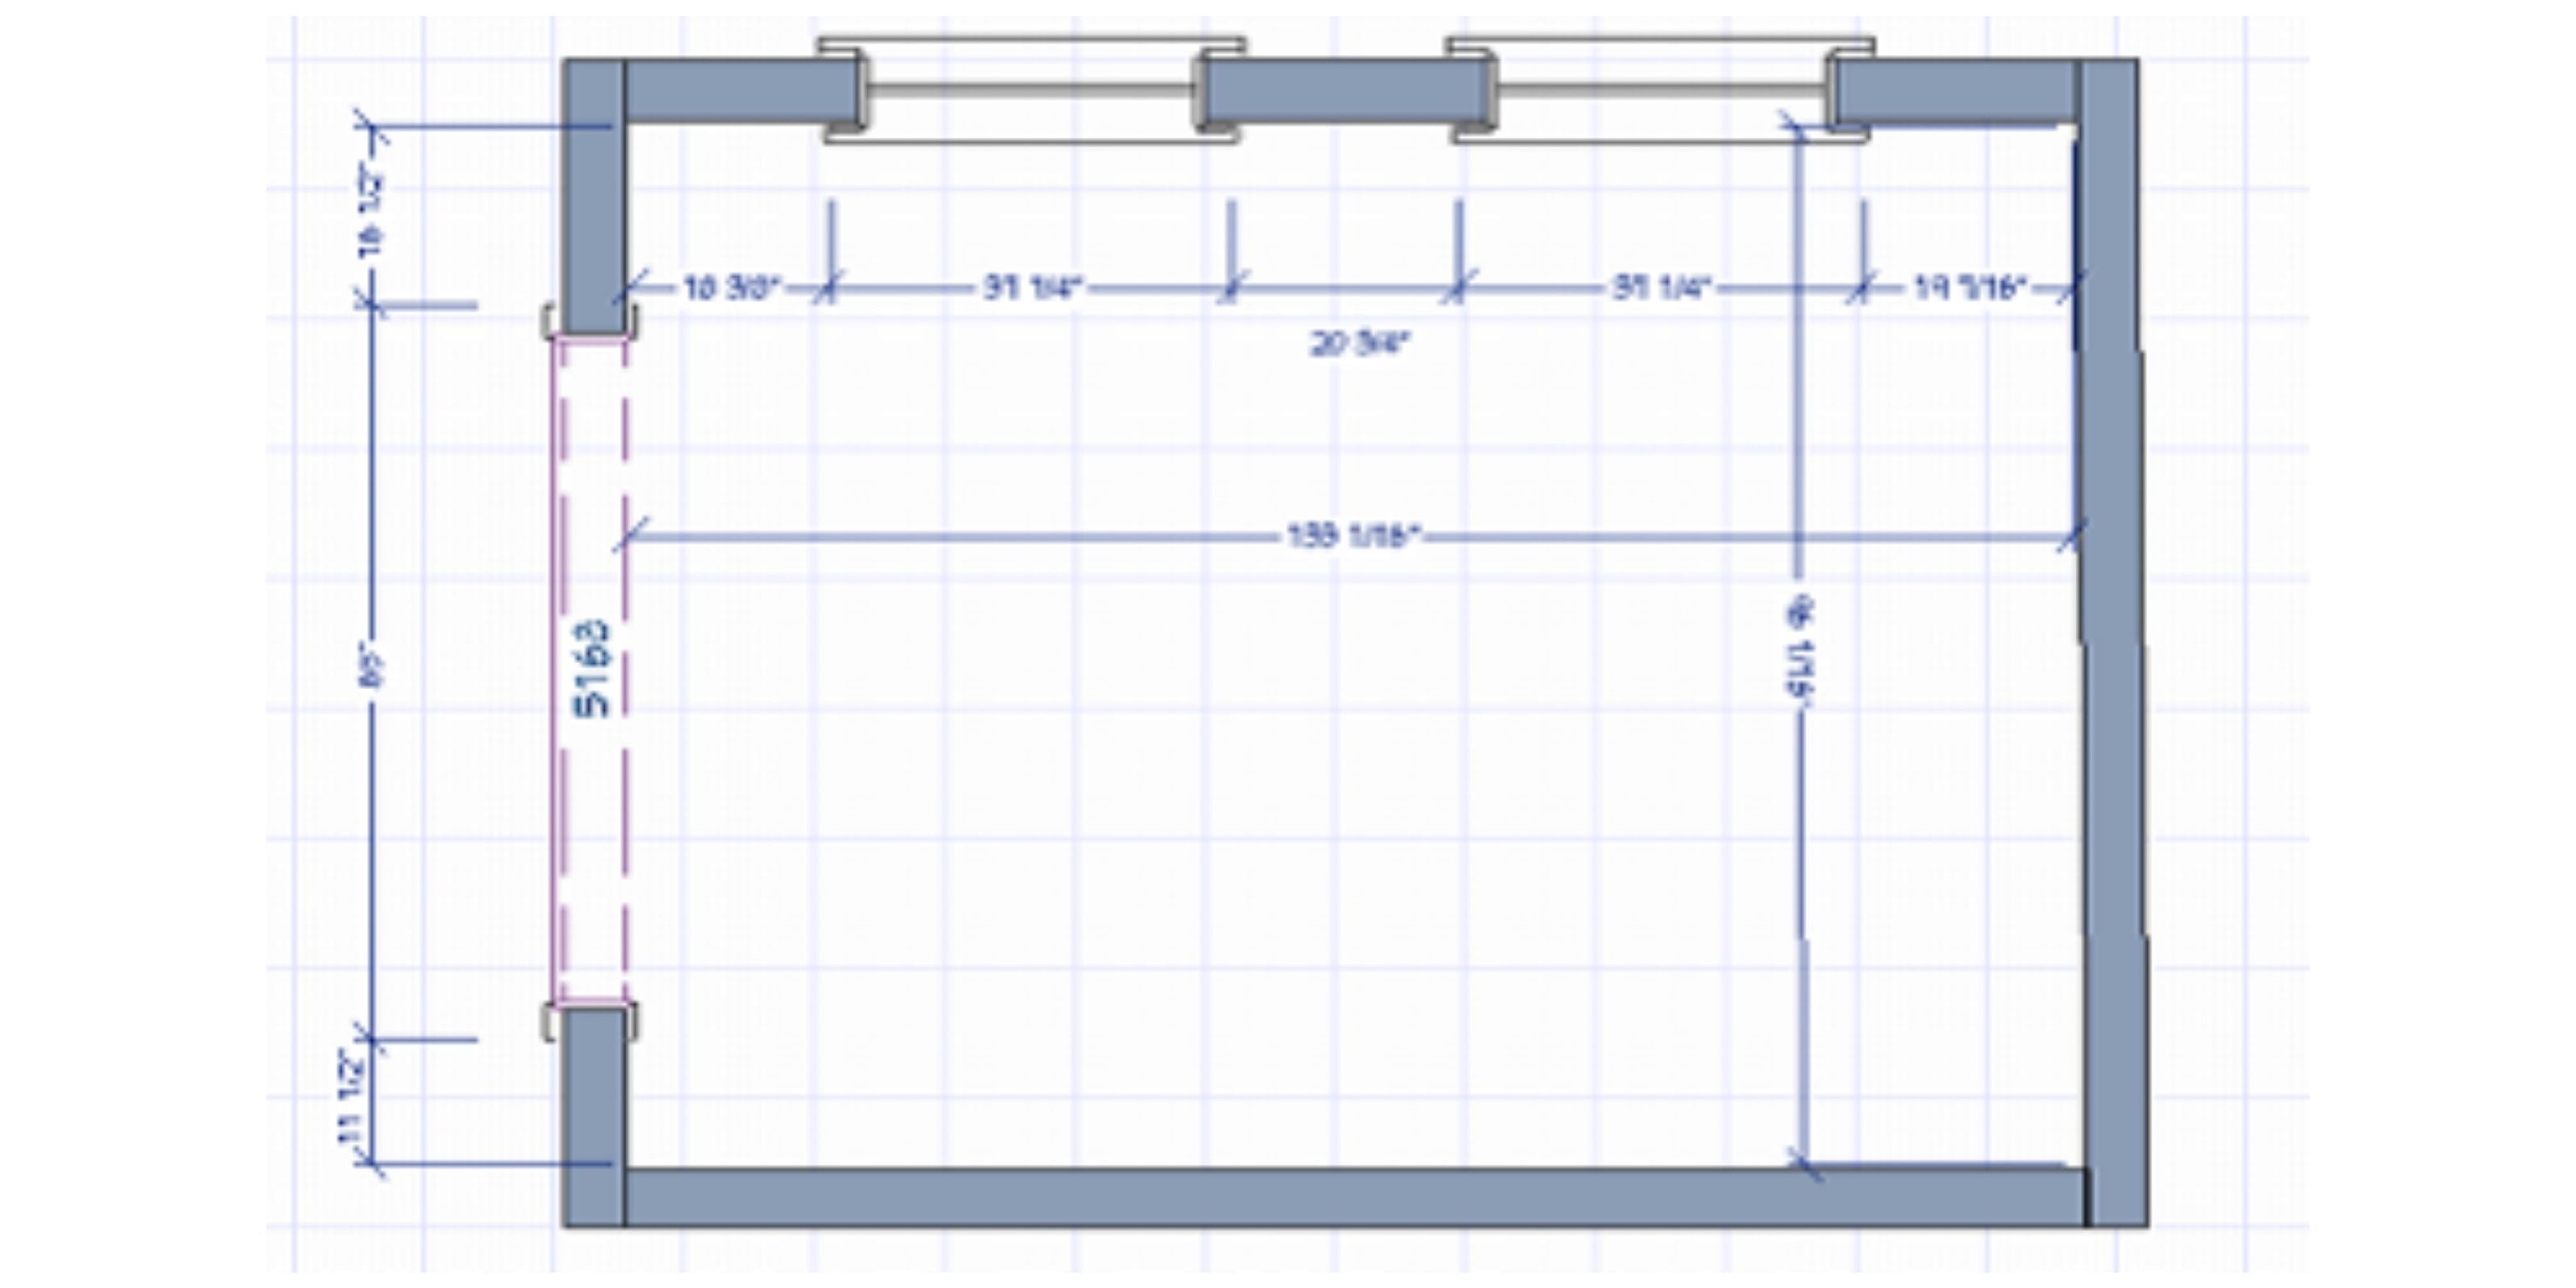
FUJI Mats complete guide to Measuring your space!
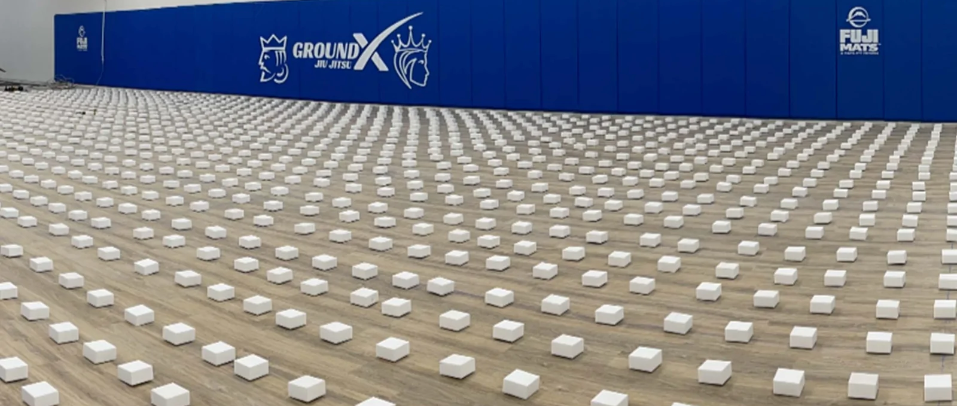
Foam SuperBlock Subfloor System from FUJI Mats is a lower-cost solution to softening the falls from training. The FUJI Subfloor SuperBlock system is a do-it-yourself style ‘sprung’ subfloor system for your FUJI Mats. Overlay this assembly with your FUJI Mats for ideal footing with impact protection.
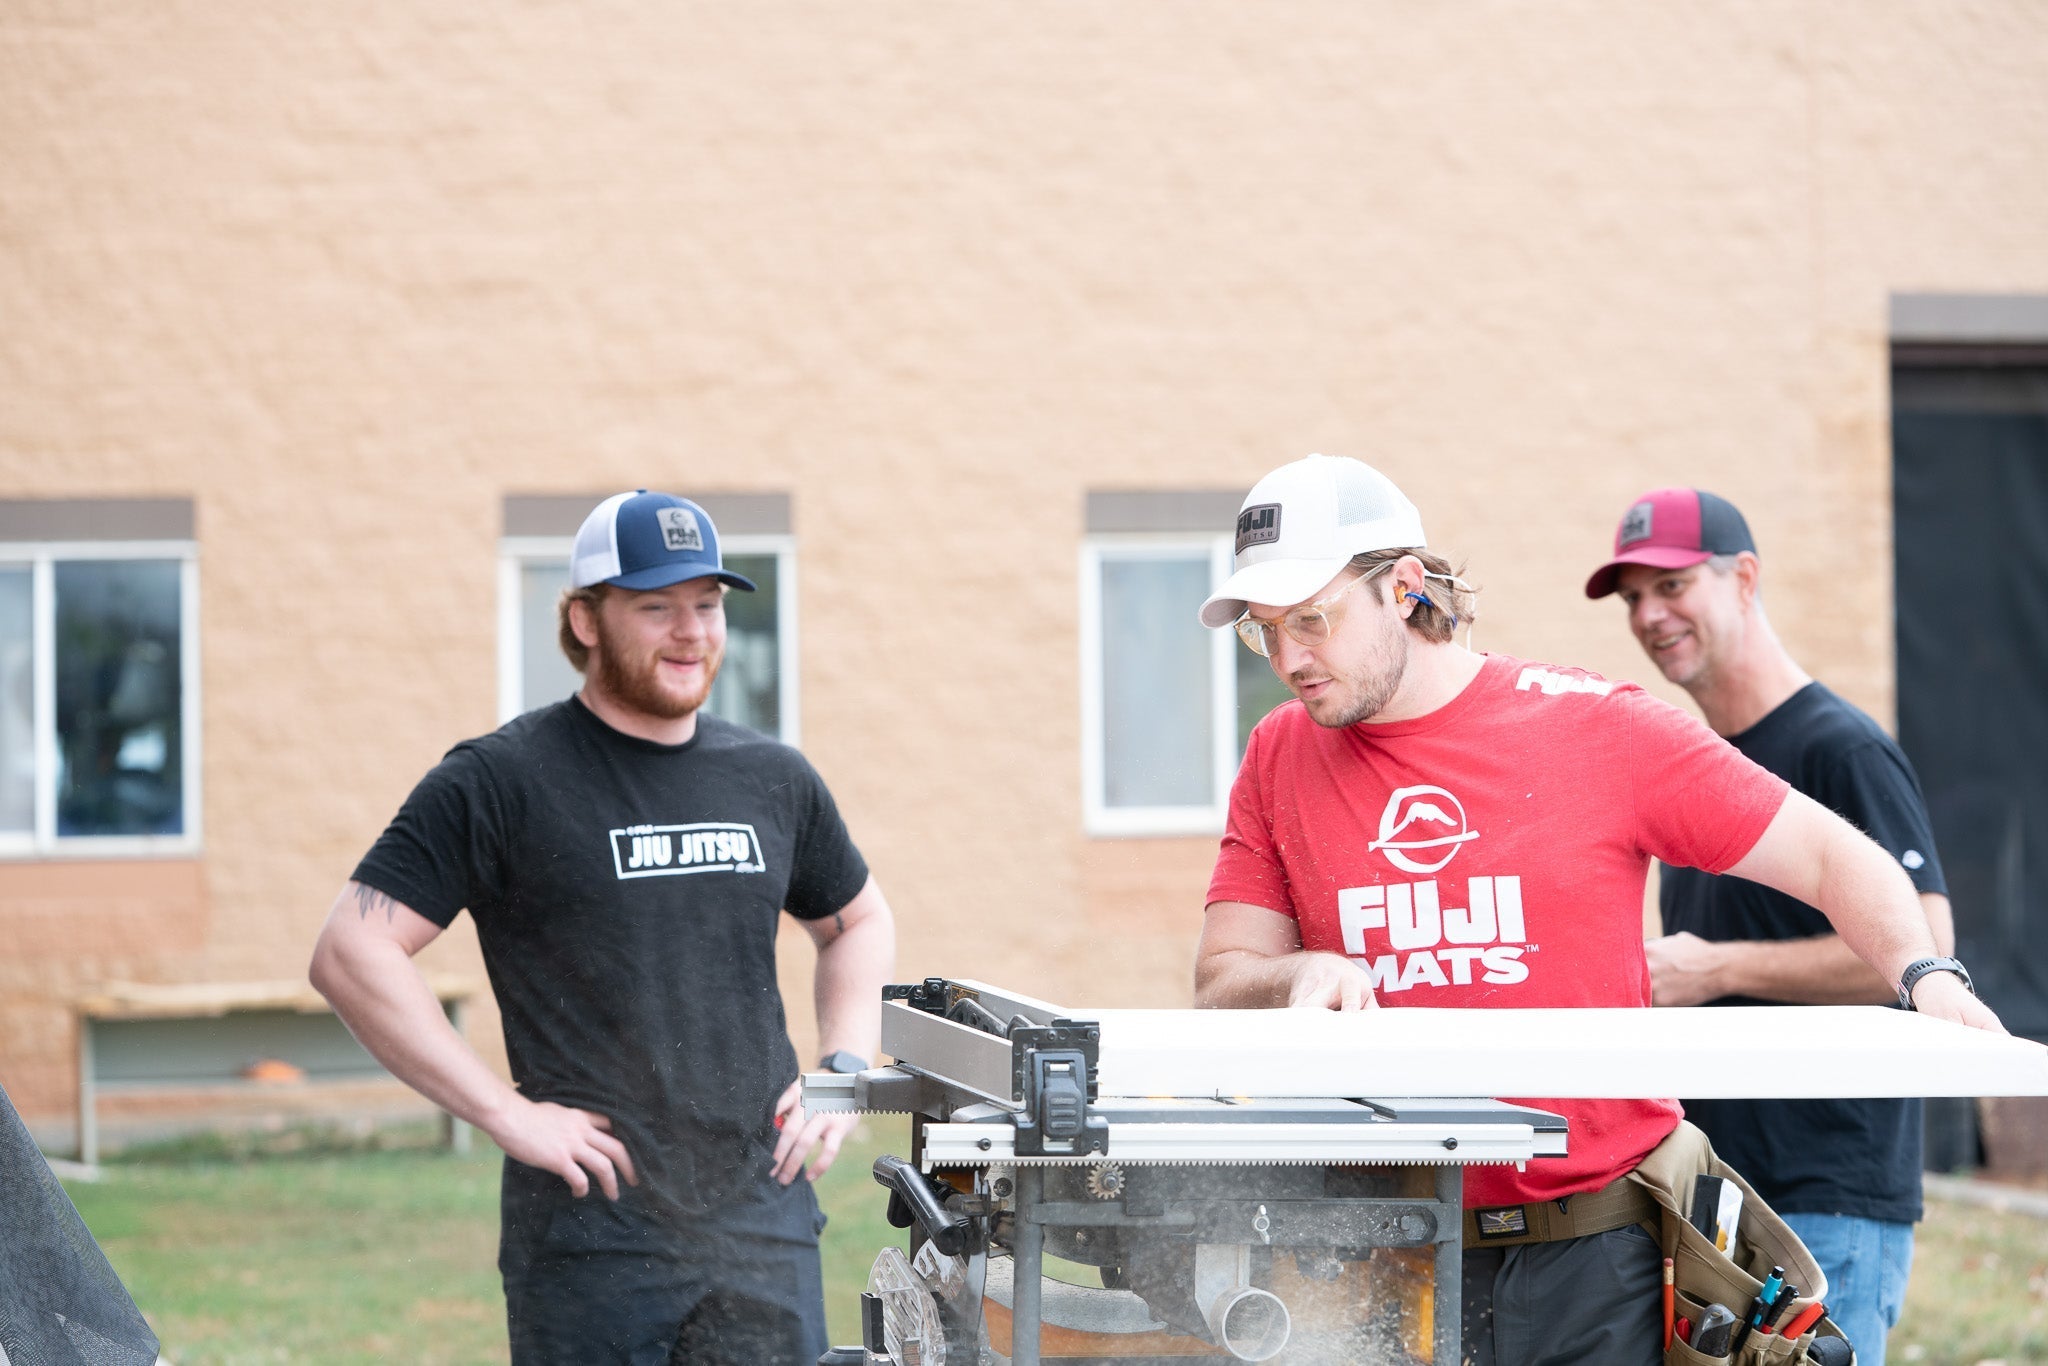
Before start,we recommend you gather several handy members and friends to help you build this system with relative ease.
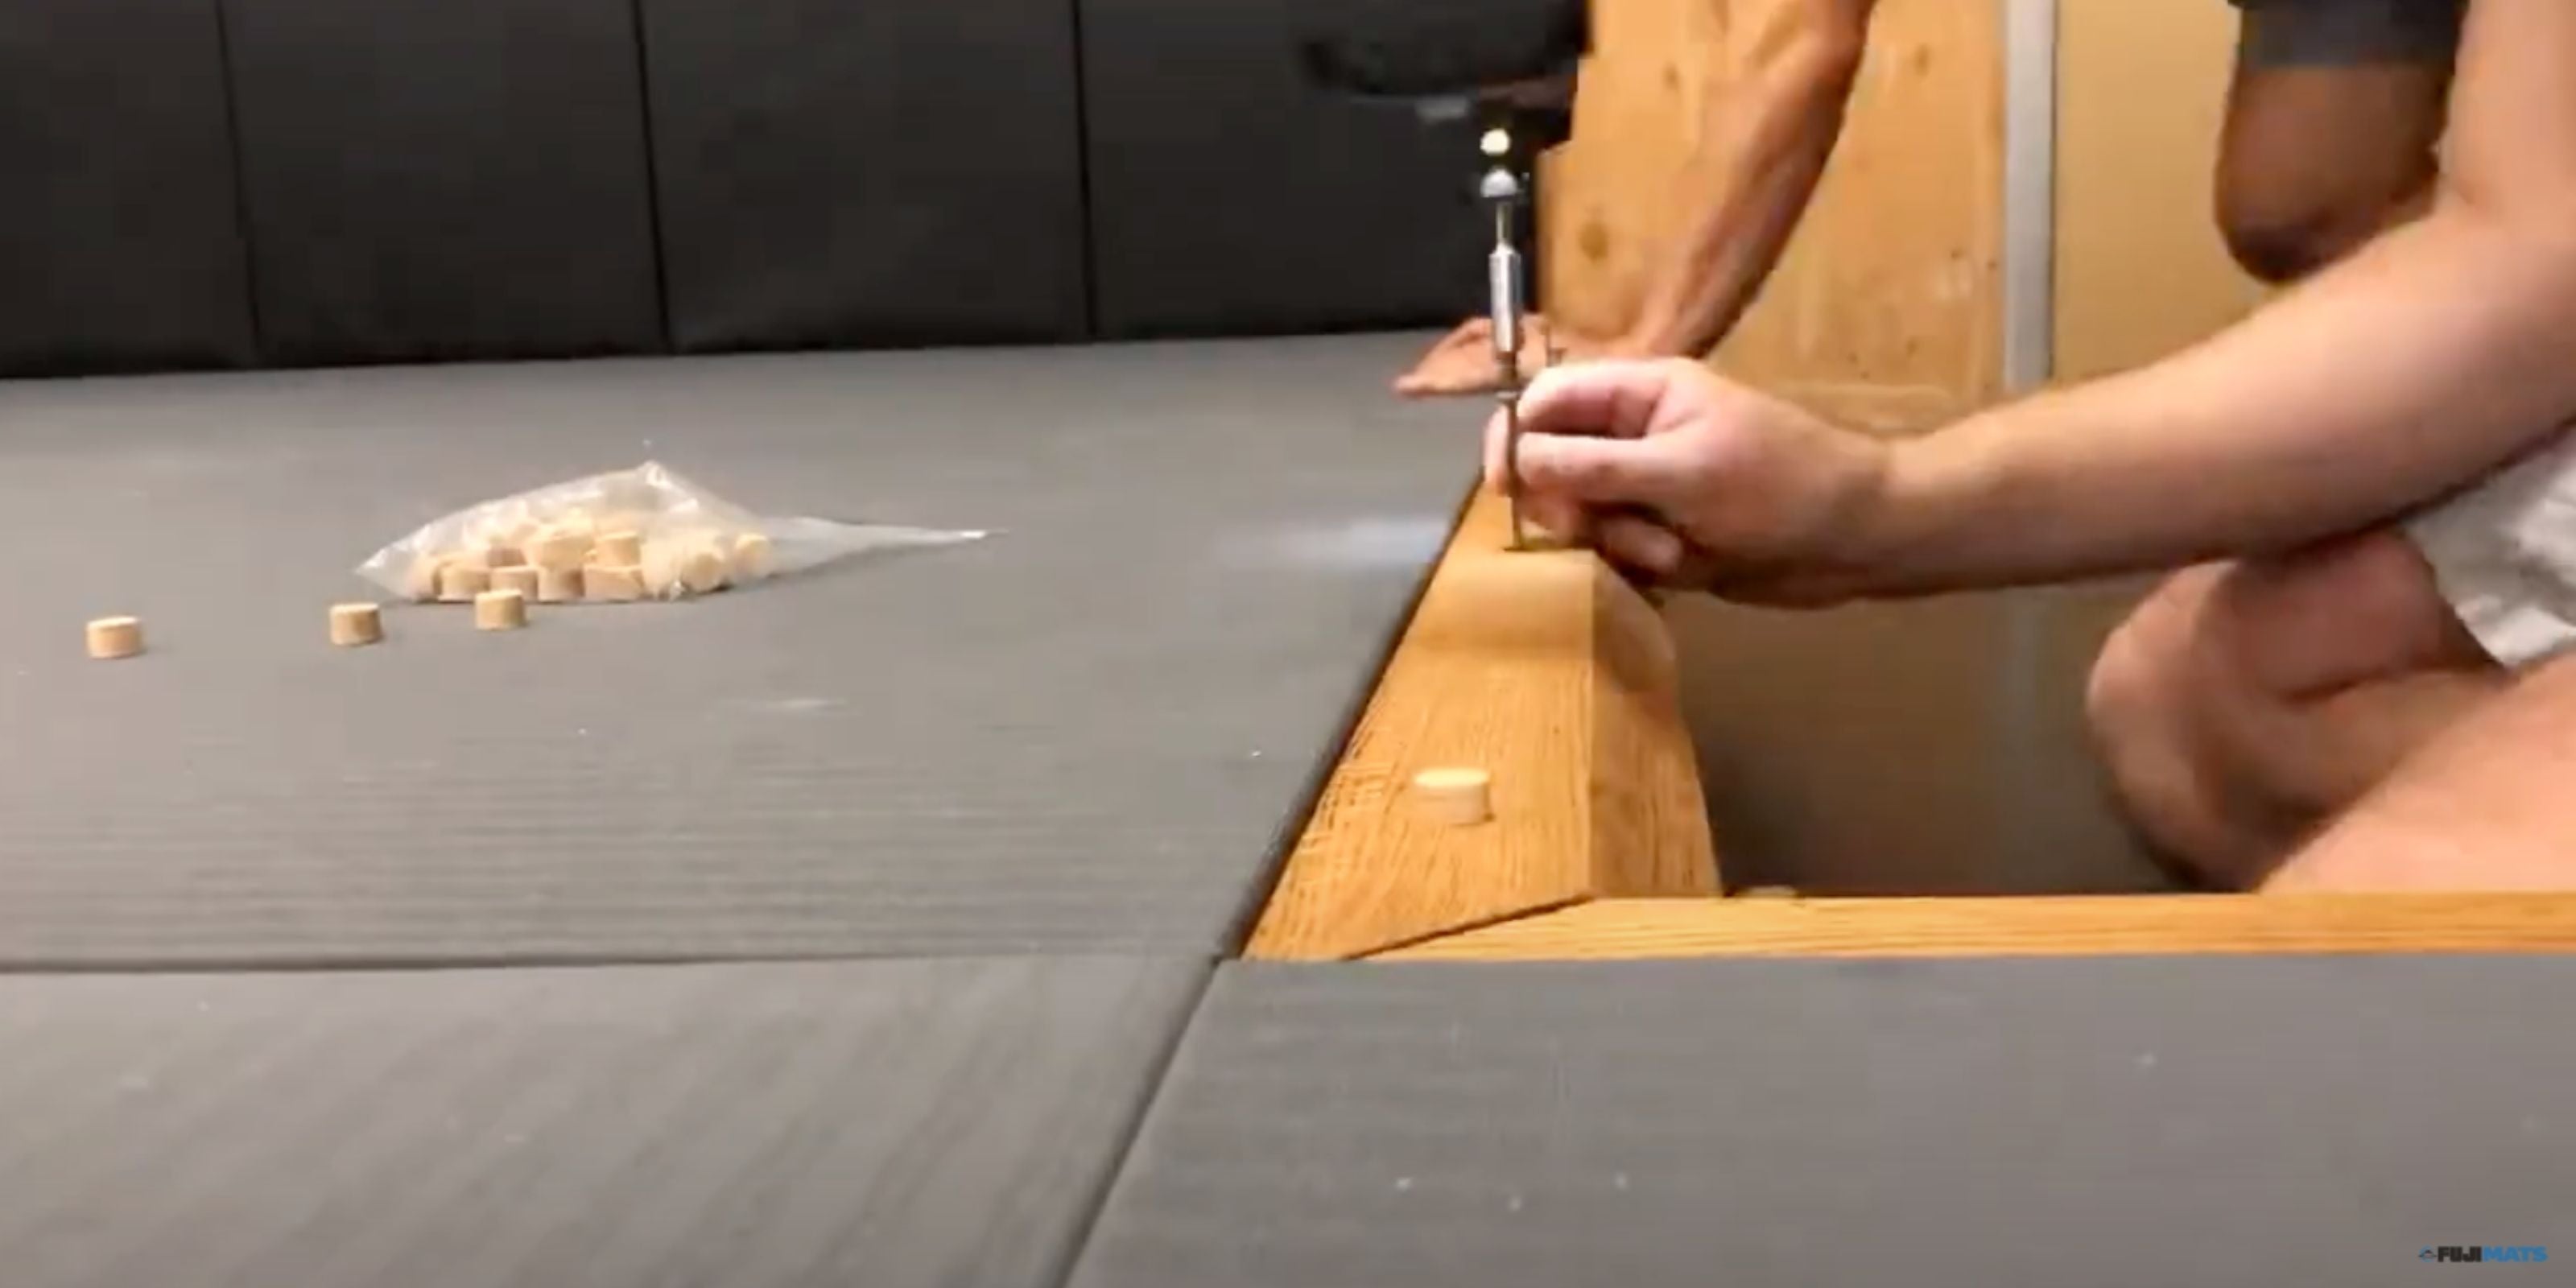
The FUJI Subfloor System consists of foam blocks adhered beneath two layers of OSB/Plywood or similar boards. FUJI Mats are then placed on top.
Materials List:
- Plywood/OSB Board: 4x8’ Sheets. [7/16” works well, some prefer 1 layer of ¾” and one of 7/16” or 5/16”]. We recommend you build a smaller 8x8ft or larger before doing the full gym to make sure you like the feel. Order this from your local big-box/hardware store and they can often deliver to make it easier.
- Screws: 1.25” Long Drywall Screws. Order several large buckets and return what you don’t need. (Figure for 1 screw for every 2ft2 of mat space)
- FUJI SuperBlocks:
- 27 [preferred method] ]or 33 Foam Blocks per Sheets of OSB. + add 10-15% for good measure. Order in 200 or 400 increments at www.fujimats.com
- Industrial Construction Adhesive: a fast-grabbing construction adhesive + several caulk guns (get several of the quality ones, the large ones are best for speed. $12-$20). Tip: Get plenty and return the excess.
When it comes to installing the FUJI SuperBlock Subfloor System here are a few steps you can follow to help make installation a breeze.
- Create a template for your foam blocks.
- Mark Block Locations on the bottom layer, do this on sawhorses for ease.
- Secure SuperBlocks with construction adhesive in place
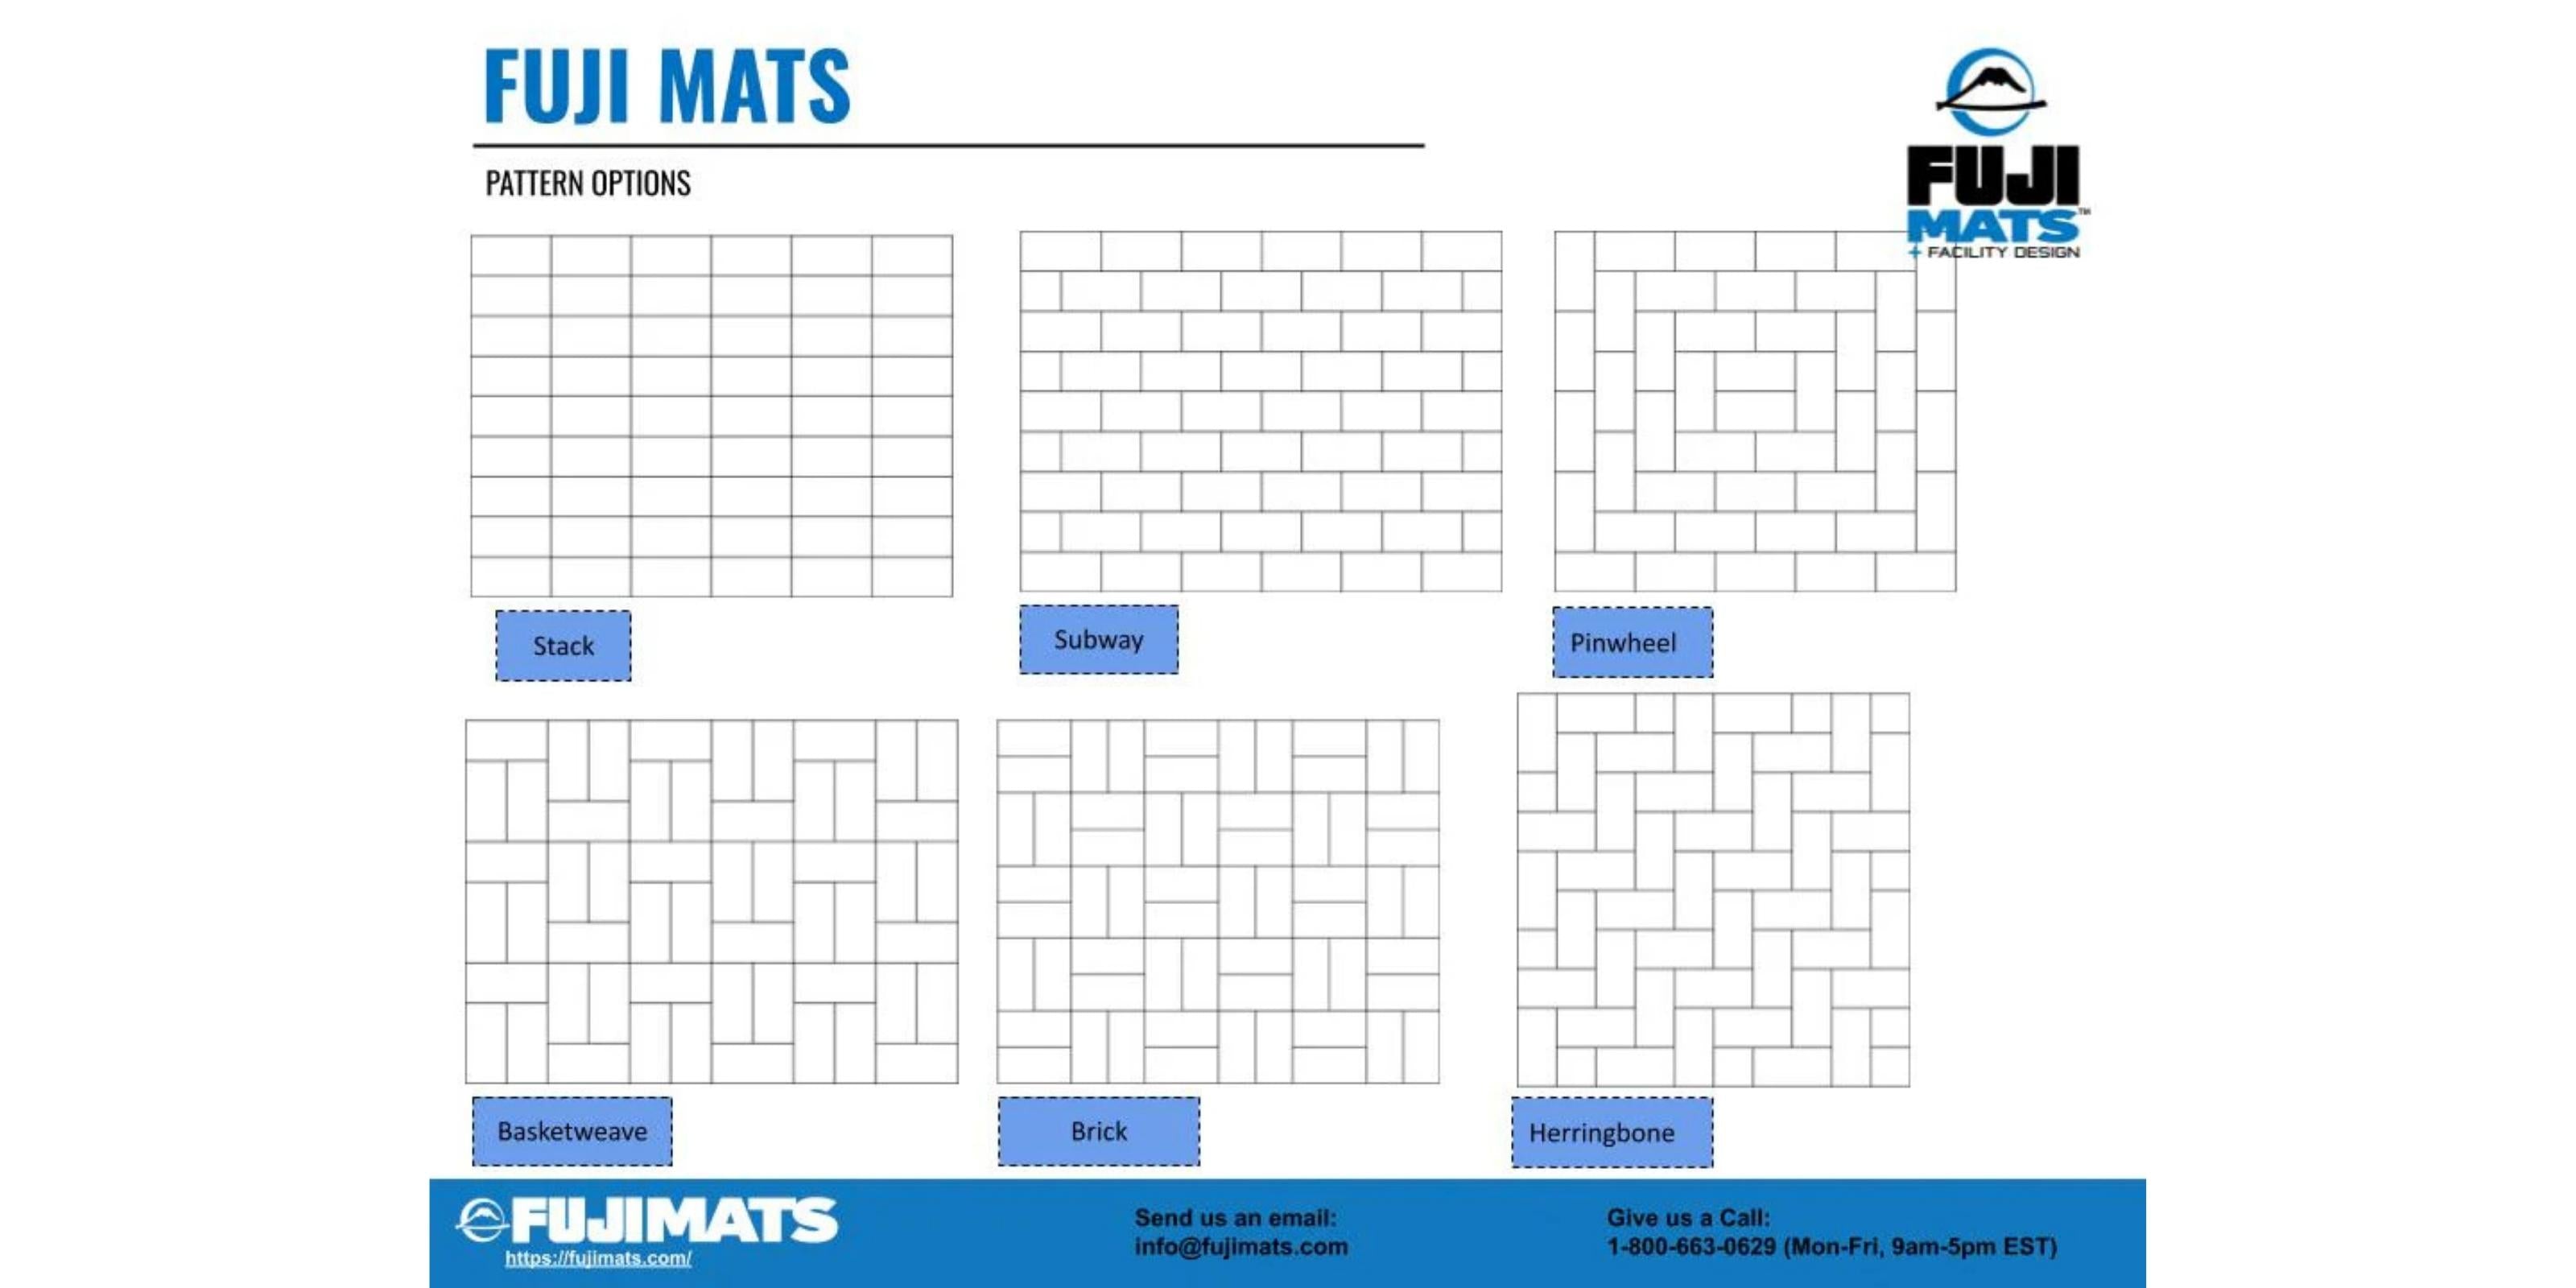
- Assemble the bottom layer, rotating the lanes 180-degrees every other panel (to stagger your block pattern -see the diagram below)
- Lay your top layer of plywood perpendicular to the long seams & secure with screws
- Stagger top and bottom seams to dissipate the load.
Other Installation Tips to consider:
- Work from your corner. Lay your bottom layer to the wall, but leave a small gap (¼-1/2in) for expansion/movement.
- Stagger seams: attach your top layer at the halfway point
- Secure with screws. ~ 16 per sheet as noted: X
Once your Foam SuperBlock Subfloor System is installed consider adding the SuperBlock Frame Kit. [order with your mats, each kit covers 19.5ft of edge]
Add additional SuperBlocks along the edge to stiffen the border, as desired. (We recommend doubling along the edge for support).
TYPES OF FOAM BLOCKS
When it comes to Foam Blocks, they are not all created equal. There are three different types:
- OK - Xlink PE Foam Blocks: This foam gets the job done and costs about $0.00 less per 1000 ft2. On an average to highly used dojo, they should last you several years before you’ll see them begin to soften and break down. We recommend the investment in the Better blocks.
- BETTER - Ethafoam Blocks: these have a 2.2# density and longer life. They will compress under impact and regain their shape for a long time.
- BEST – FUJI SUPER BLOCK - These will more than double the durability of your floor system over the above blocks due to an advanced cell structure. Expect a life of 3-5 years under normal to heavy use, and plan to replace a few in the main traffic/impact areas in several years.
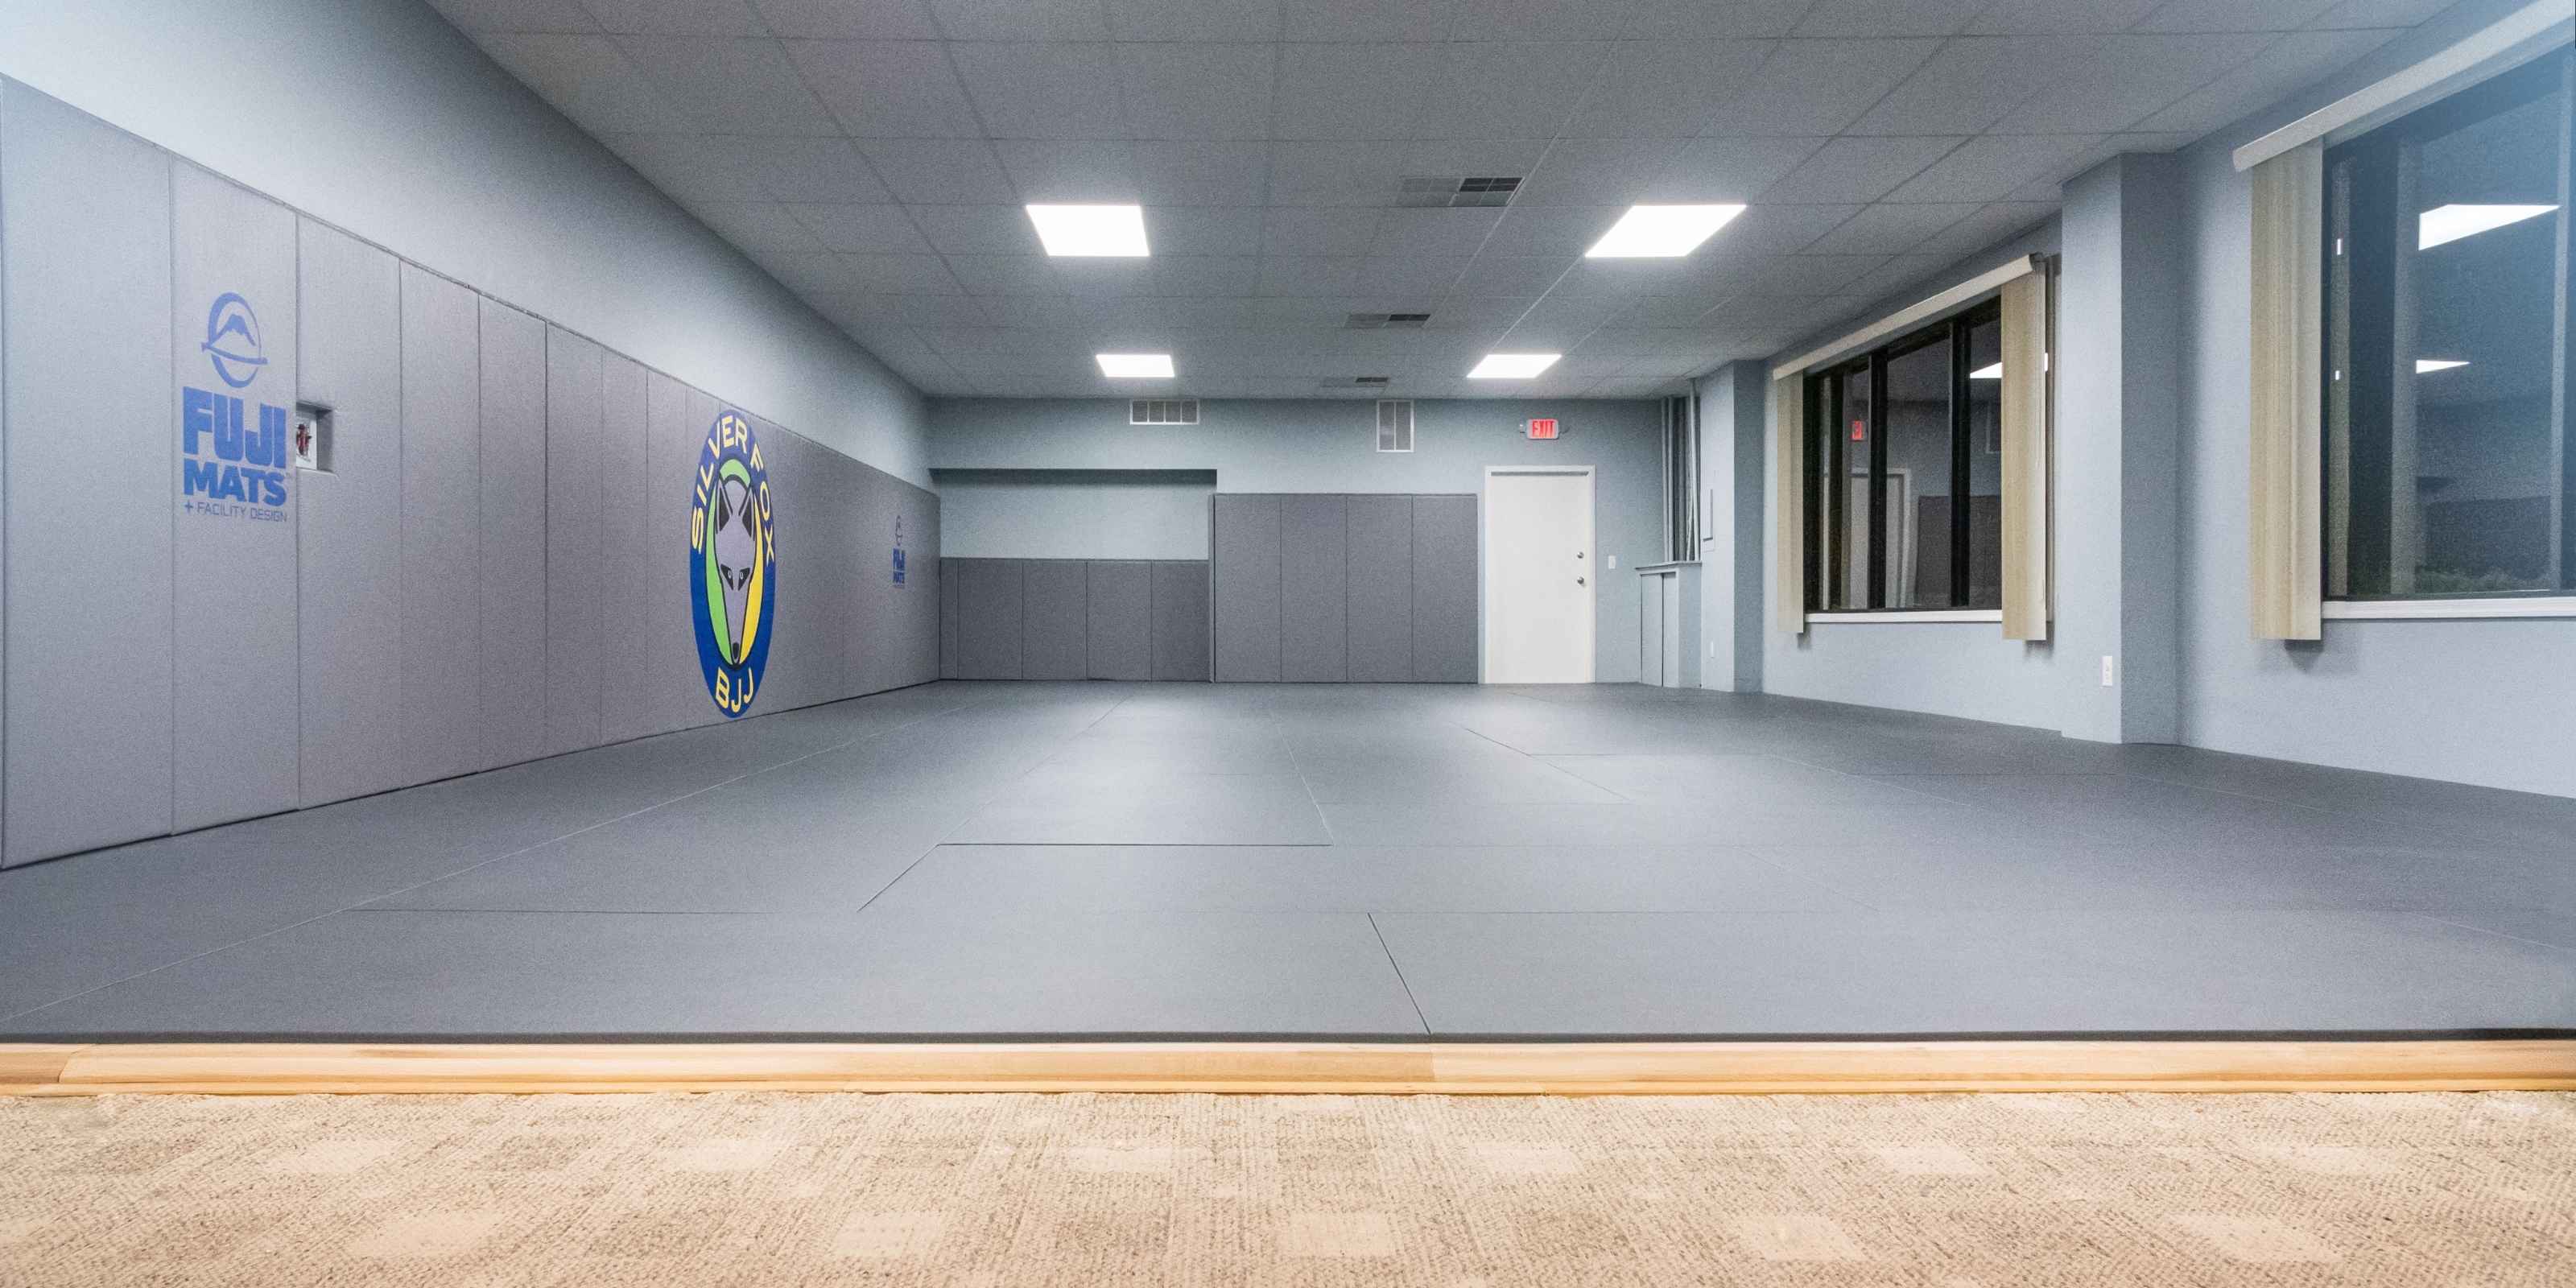
FUJI’s recommended procedure to install mats over carpet when necessary. We always advise to REMOVE carpet whenever possible:
- Pick up some 6 mil plastic sheeting: CLICK HERE
- Spread it across the entire floor that is to be covered with the mats.
- Overlap any seams at least 18” – 24” and tape the seams with a heavy duty tape.
- Run the plastic up the sides of the walls 4 - 6” and extend beyond the mat area.
- Make sure that there are no wrinkles in the plastic sheeting.
- Start laying the mats out along the long wall and side walls and build out from there.
-
Once all mats are laid in place and pushed together as tight as possible, ensuring NO gaps and NO wrinkles or bunching in the plastic, install the FUJI Frame Kit on top of the plastic sheeting.
- Again, pressure-fit the Frame Kit against the mats ensuring they are as tight as possible.
- Cut the excess plastic sheeting away with a utility knife.
The other option is to use our SubMatPad, a closed cell foam underlayment. This will soften your floors feel and provide MORE impact protection as well as solving the problem when you must leave carpet in place. Check out the FUJI Underlayment Here
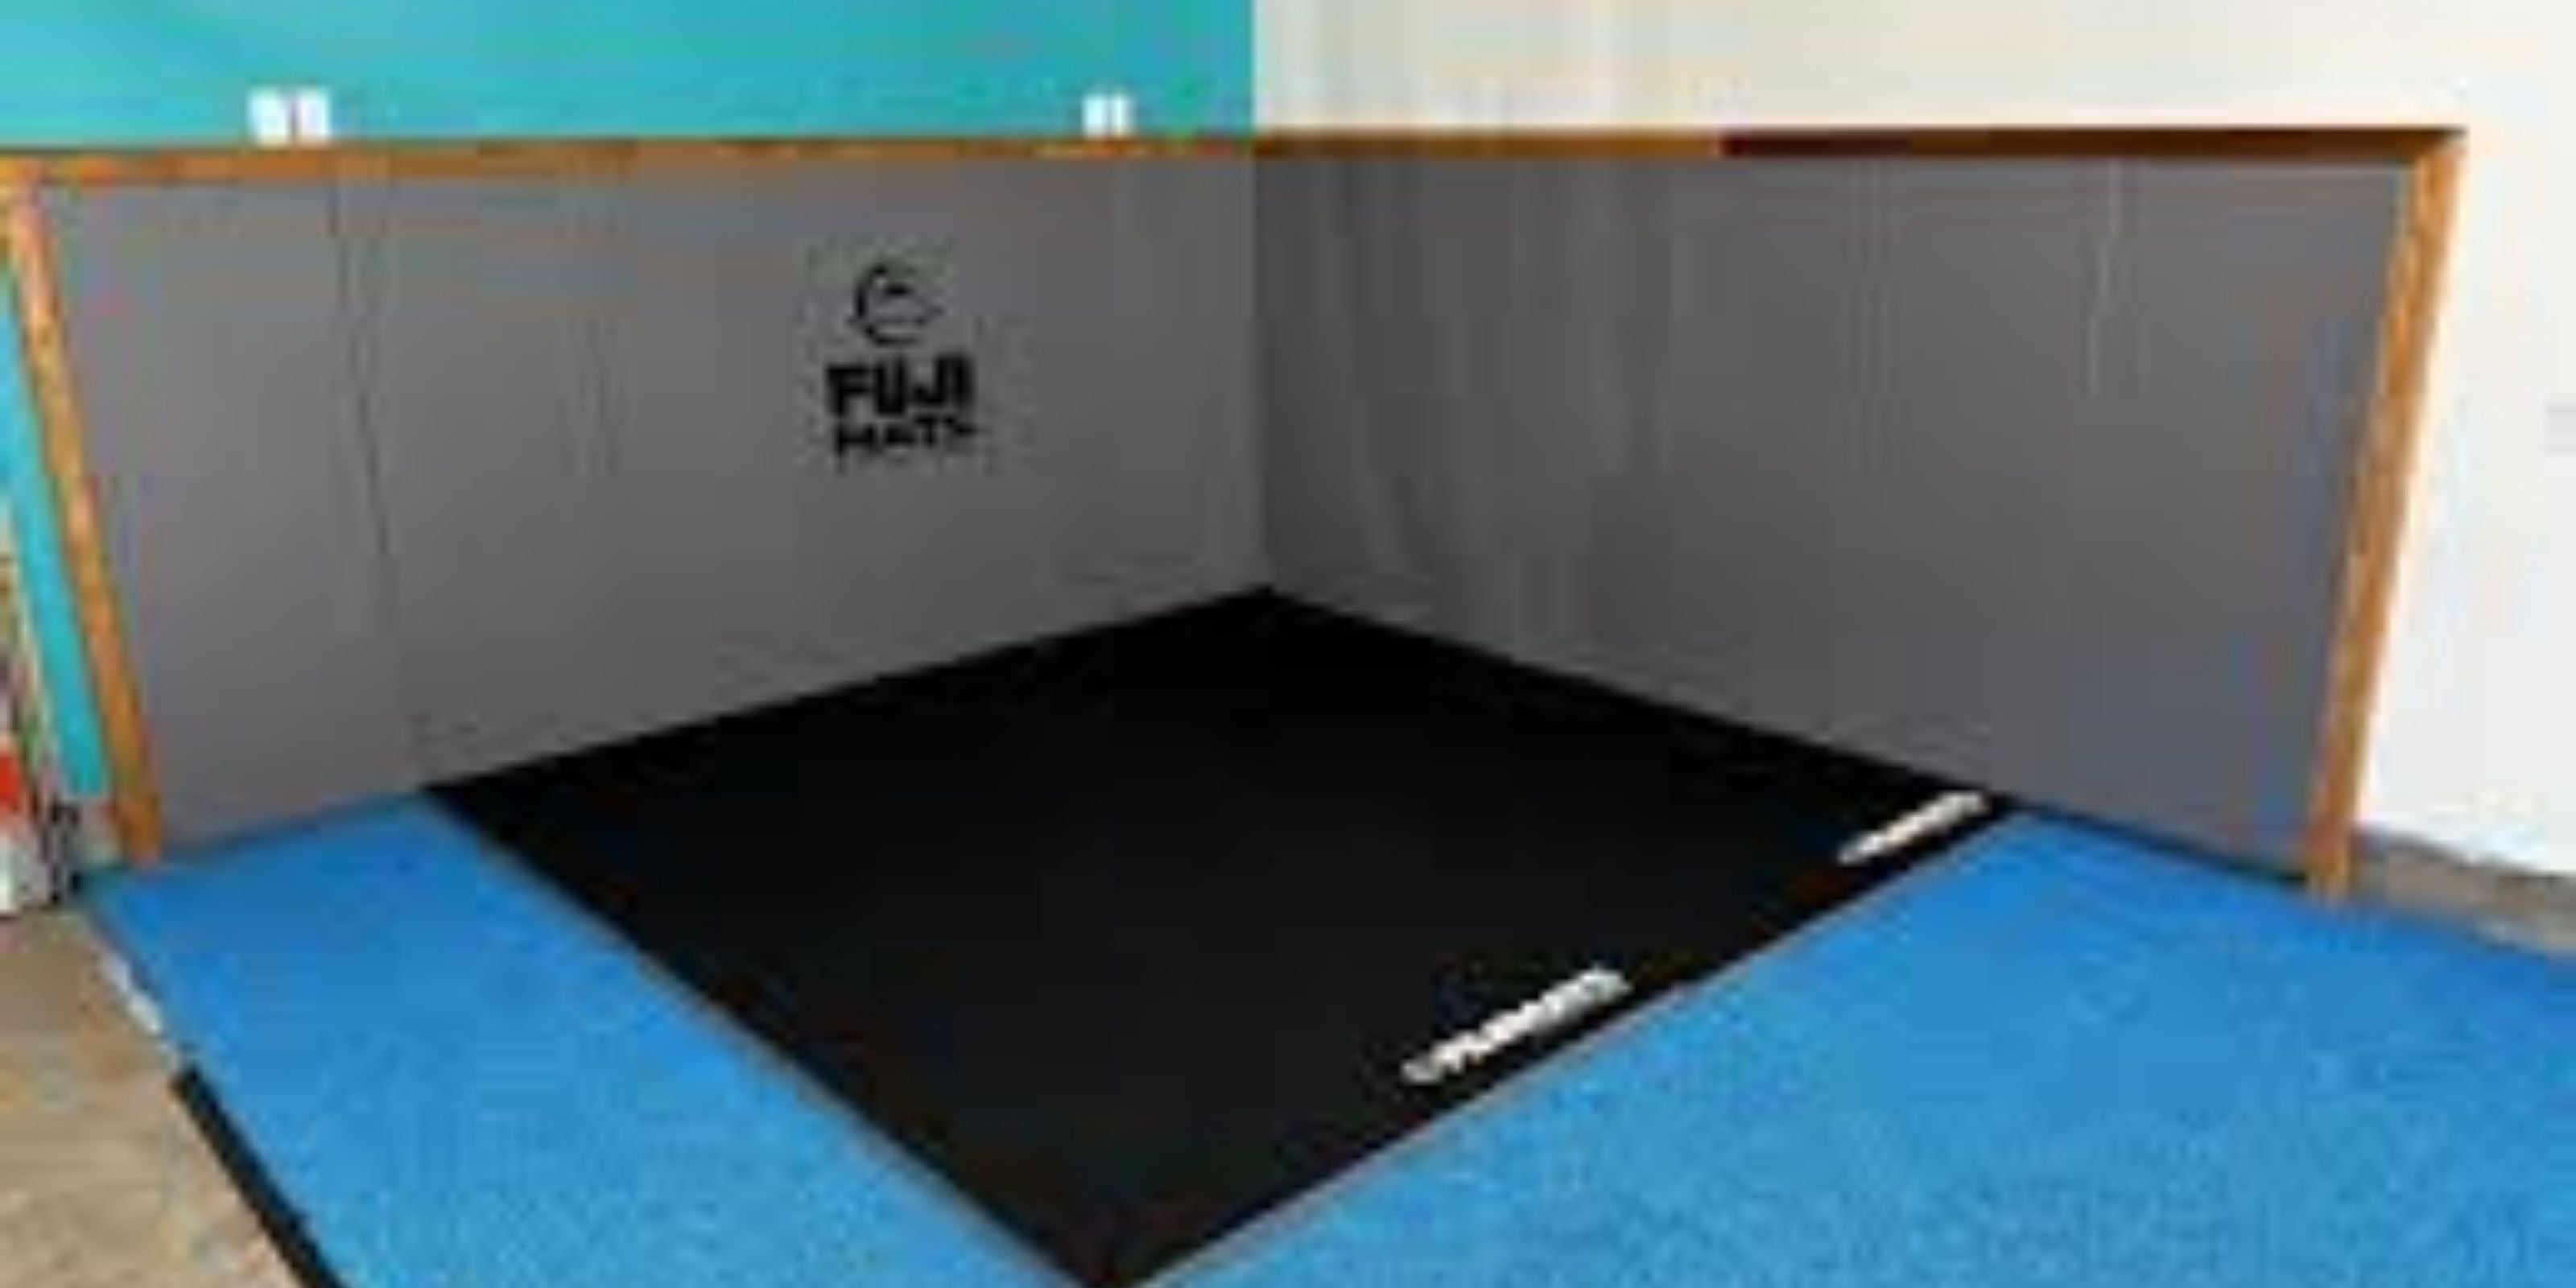
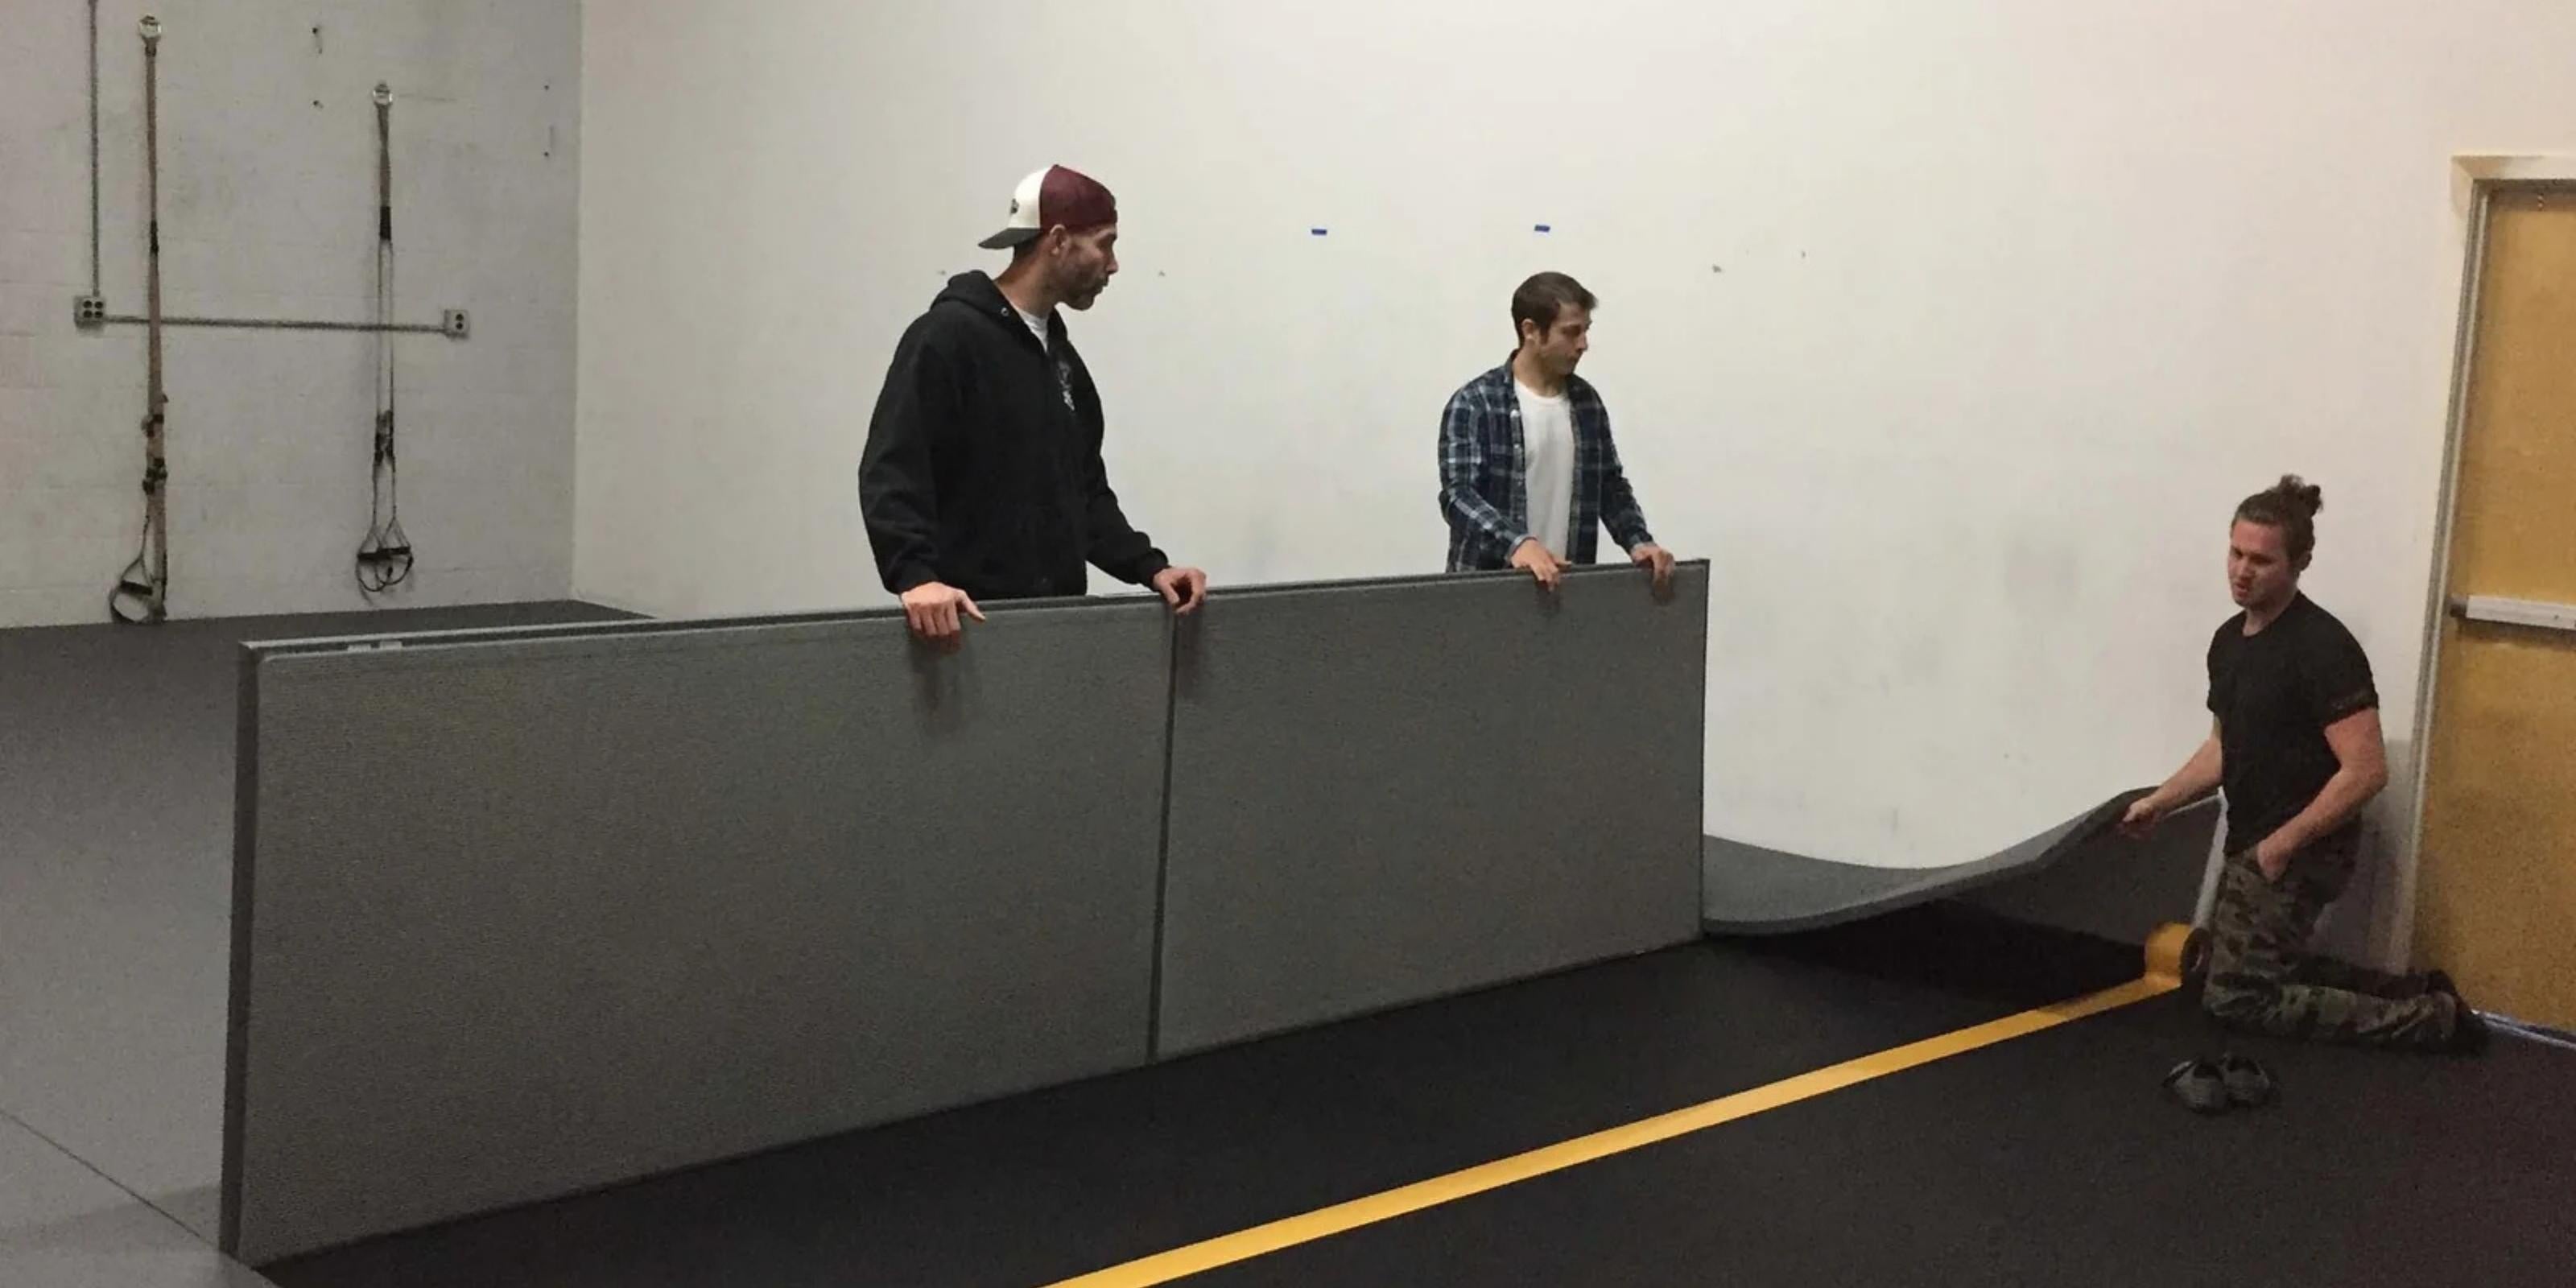
Designing a martial arts facility so it fits your brand while maximizing safety is key. FUJI Mats offers a full line of martial art facility products to keep your students safe and martial arts facility professional. FUJI Mats is more than just martial arts mats on the floor - we offer full facility design solutions such as wall pads to keep your martial arts students safe and provide a professional training environment. However, when it comes to Wall Pads it is not always as easy as just installing them, sometimes we need to work around bump outs, ledges, support beams, etc. Let’s discuss some of the ways you utilize FUJI Wall Pads despite any obstacles you may come across.
Let’s get started.
Tools Needed To Cut Your Martial Arts Wall Pads:
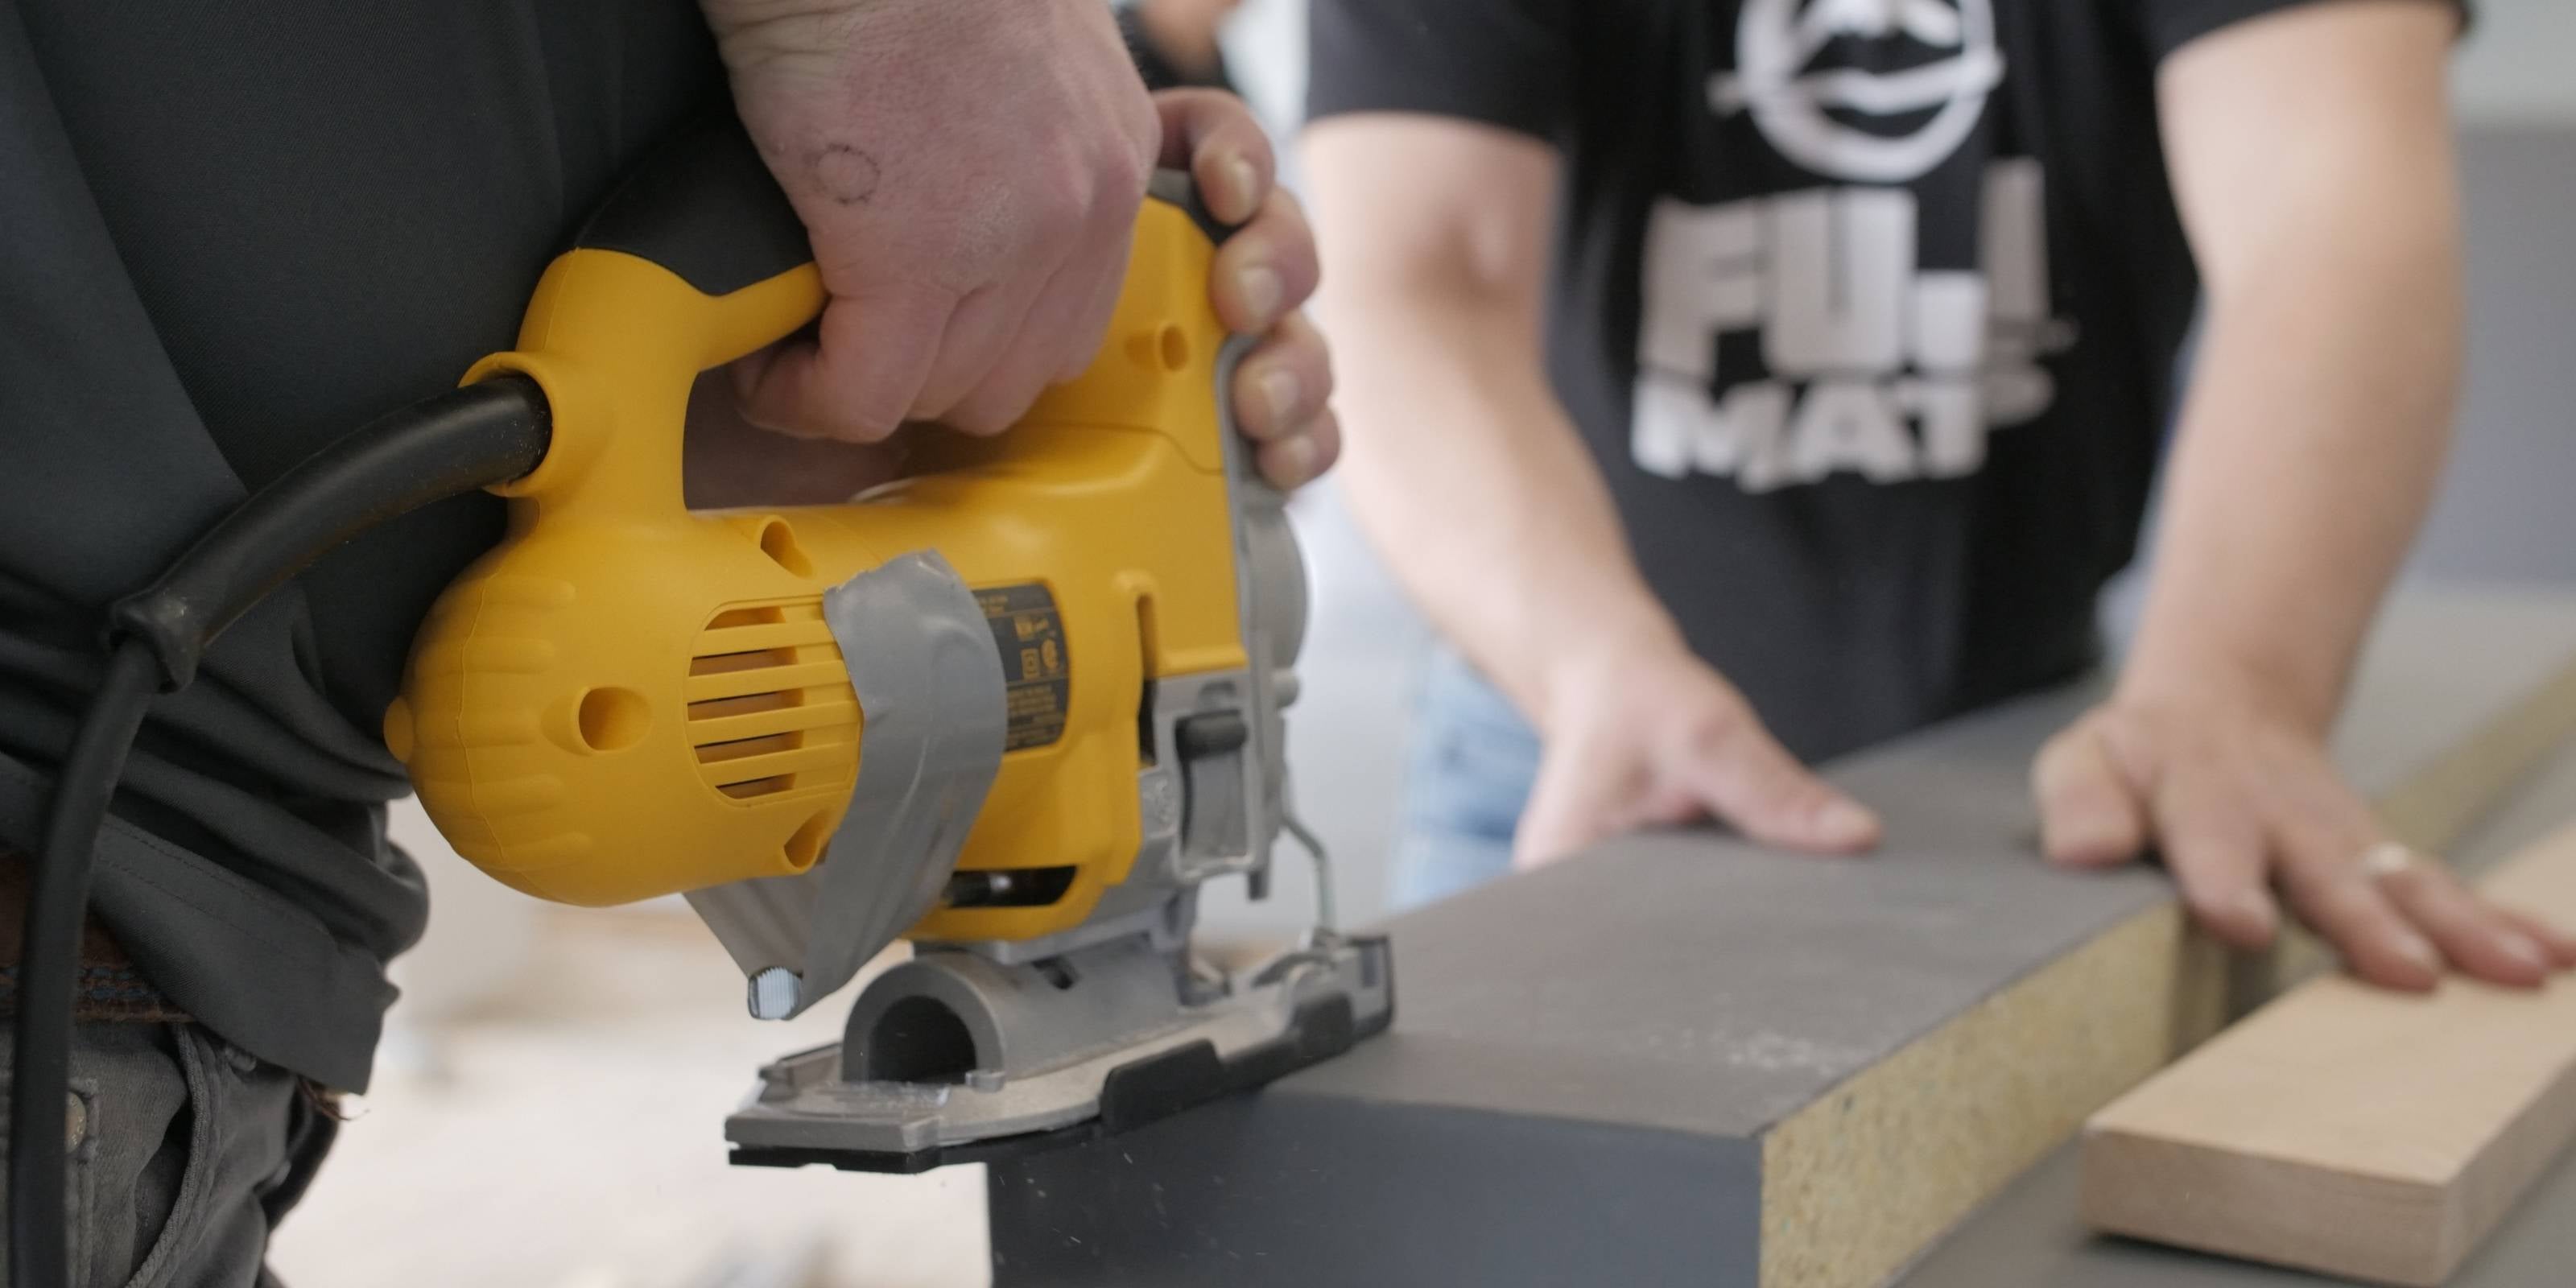
FUJI Mats recommends you use specific tools to cut your wall pads. First thing we recommend is using a Chalk Line to make your straight line. This way in case you need to make any adjustments you have not made any permanent marks on the wall pad itself. Next you’ll need something to cut the mat. We recommend using a skill saw to cut through the back of the wall pad and the FUJI Mats tool of choice, is a Jigsaw Tool with a serrated blade to cut through the actual pad portion of the wall pad. The serrated blade is made for specifically cutting through foam extremely smooth and quick.
You may also want to consider having a pair of needle nose pliers to remove the staples on the back of the wall pad.
Lastly, you must have a glue, staples or strong tape to reattach the vinyl that has been removed from the wall pad.
Why & When You Need To Cut Your Martial Arts Wall Pads:
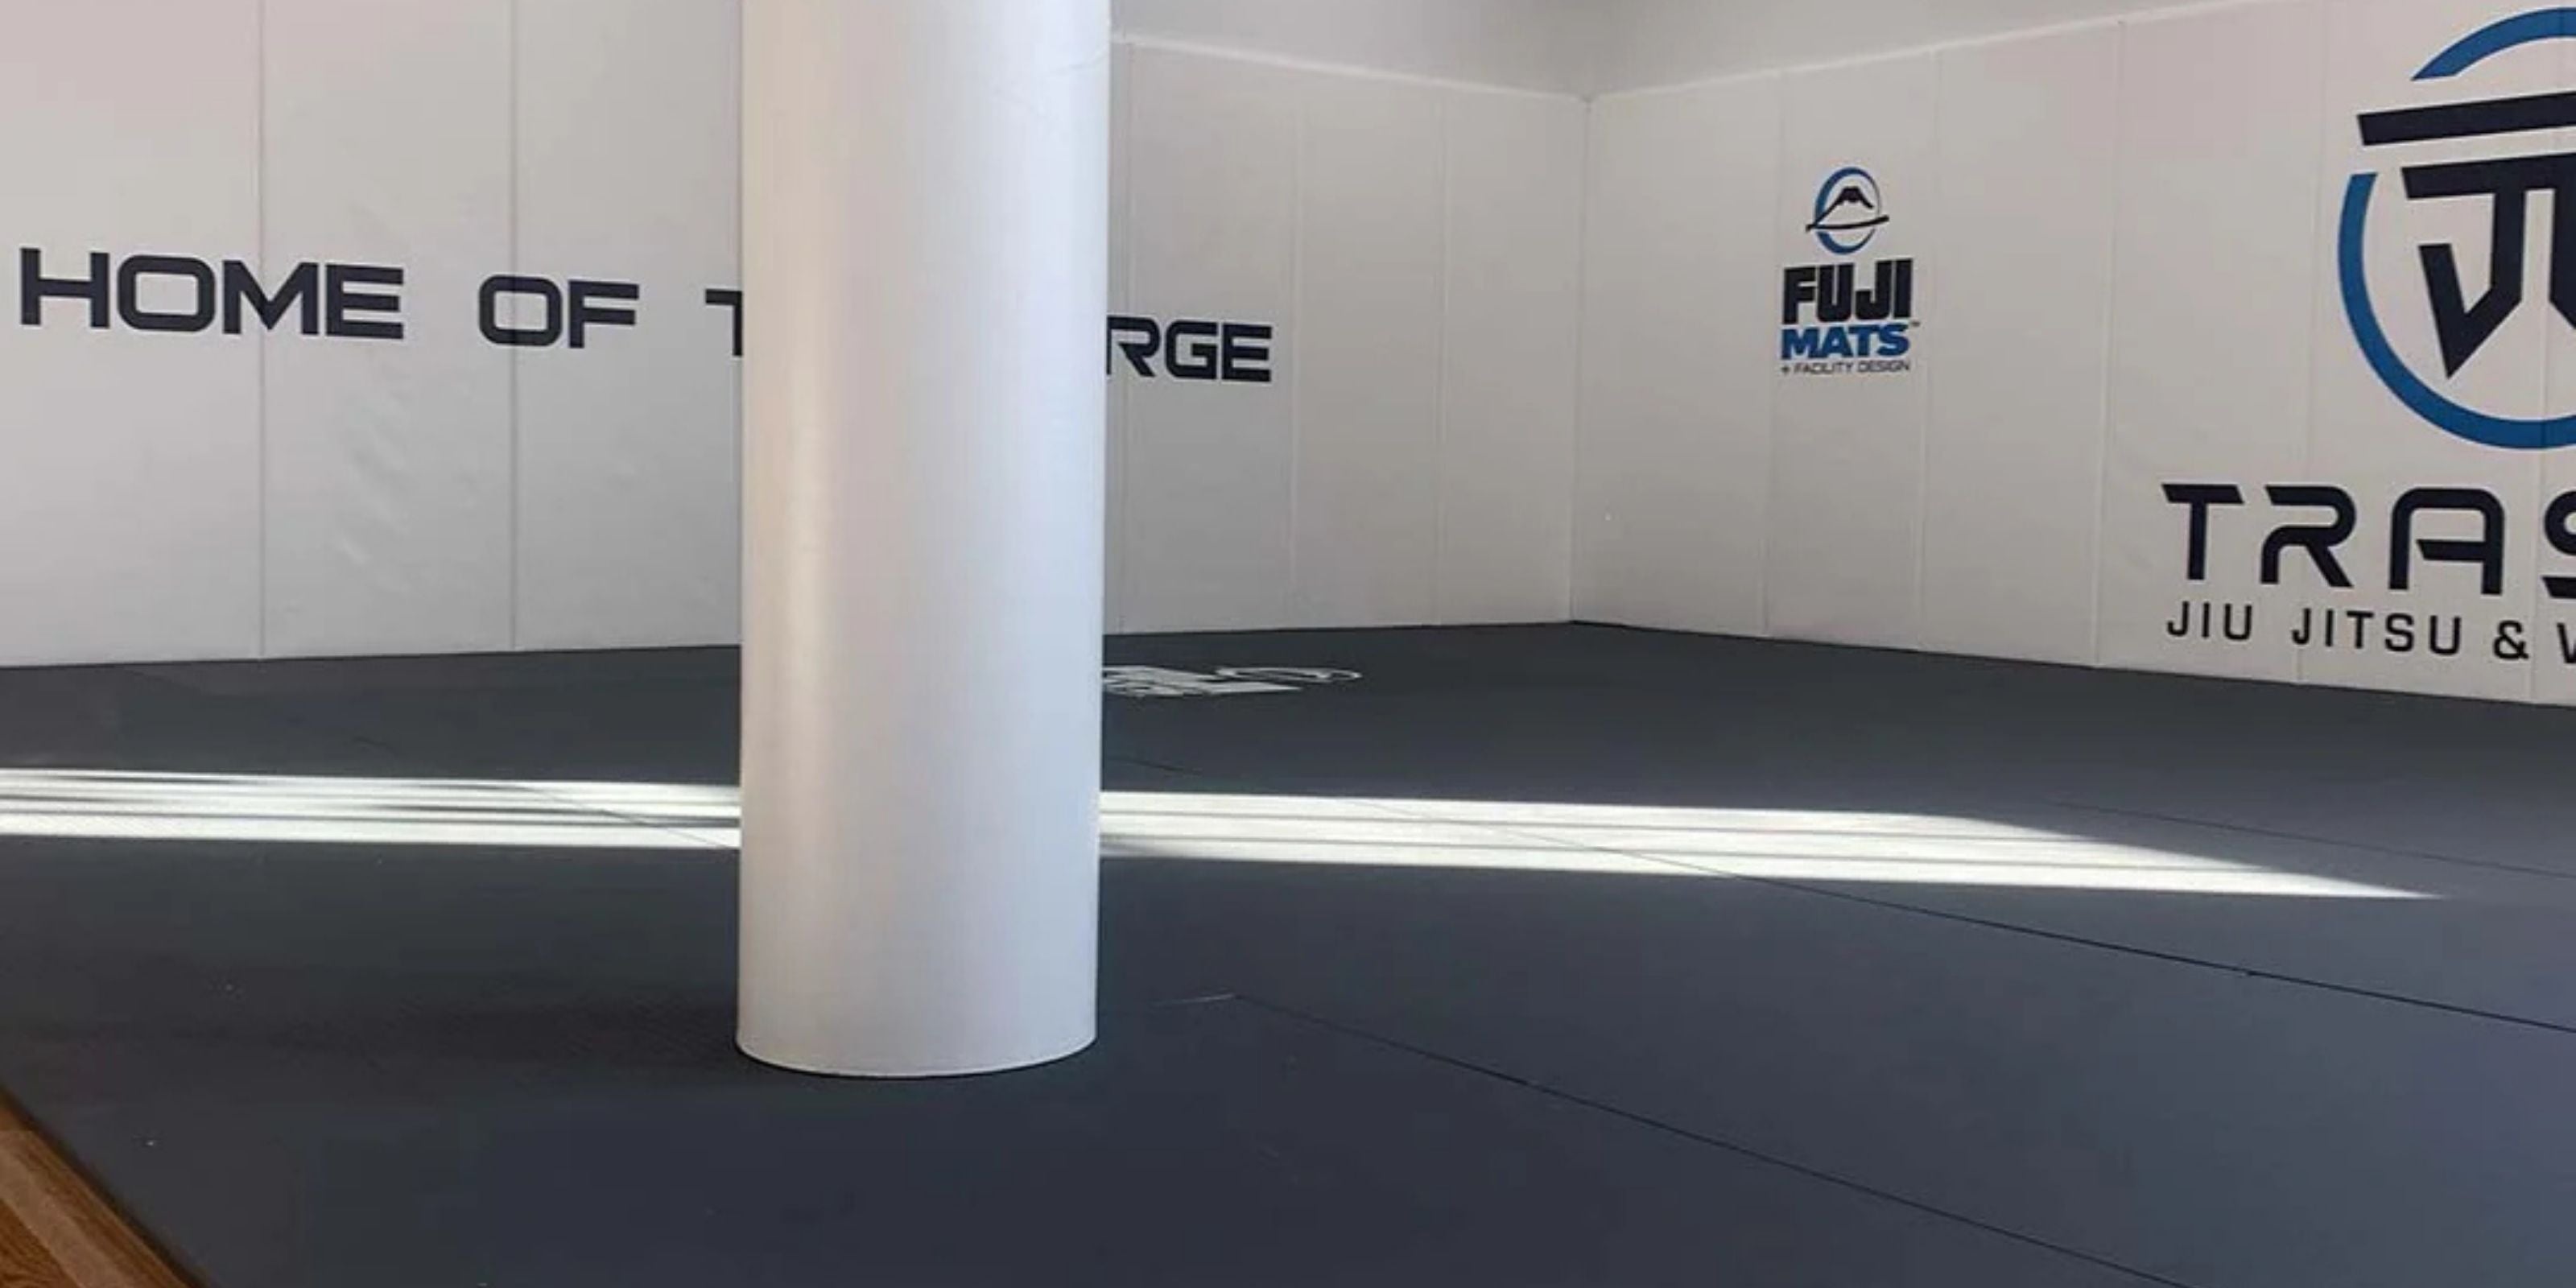
Gyms come in all shapes and sizes. FUJI Mats will get you the exact number of wall pads you need and we will even let you know how many wall pads you would need to cut to ensure a perfect fit. However, some spaces may have some wall bump outs, pillars or maybe just does not fit a full wall pad - either way, we have you covered.
You want to ensure all of your wall pads are packed together nice and snug. You also need to make sure they are lined up evenly so they create a straight line across the top. Cutting your FUJI Wall Pad ensures the perfect fit and a professional look and feel for your gym.
How To Measure Your Martial Arts Wall Pad Mat:
But for a quick run down, measure the distance between the top of the wall area and the bottom of the wall area and your wall pad. Be sure to add +1/8 or +1/4" to ensure you pinch the layout tightly.
Getting A Finished Edge:
For a full breakdown on how to cut your FUJI Wall Pad mat with a finished edge click here.
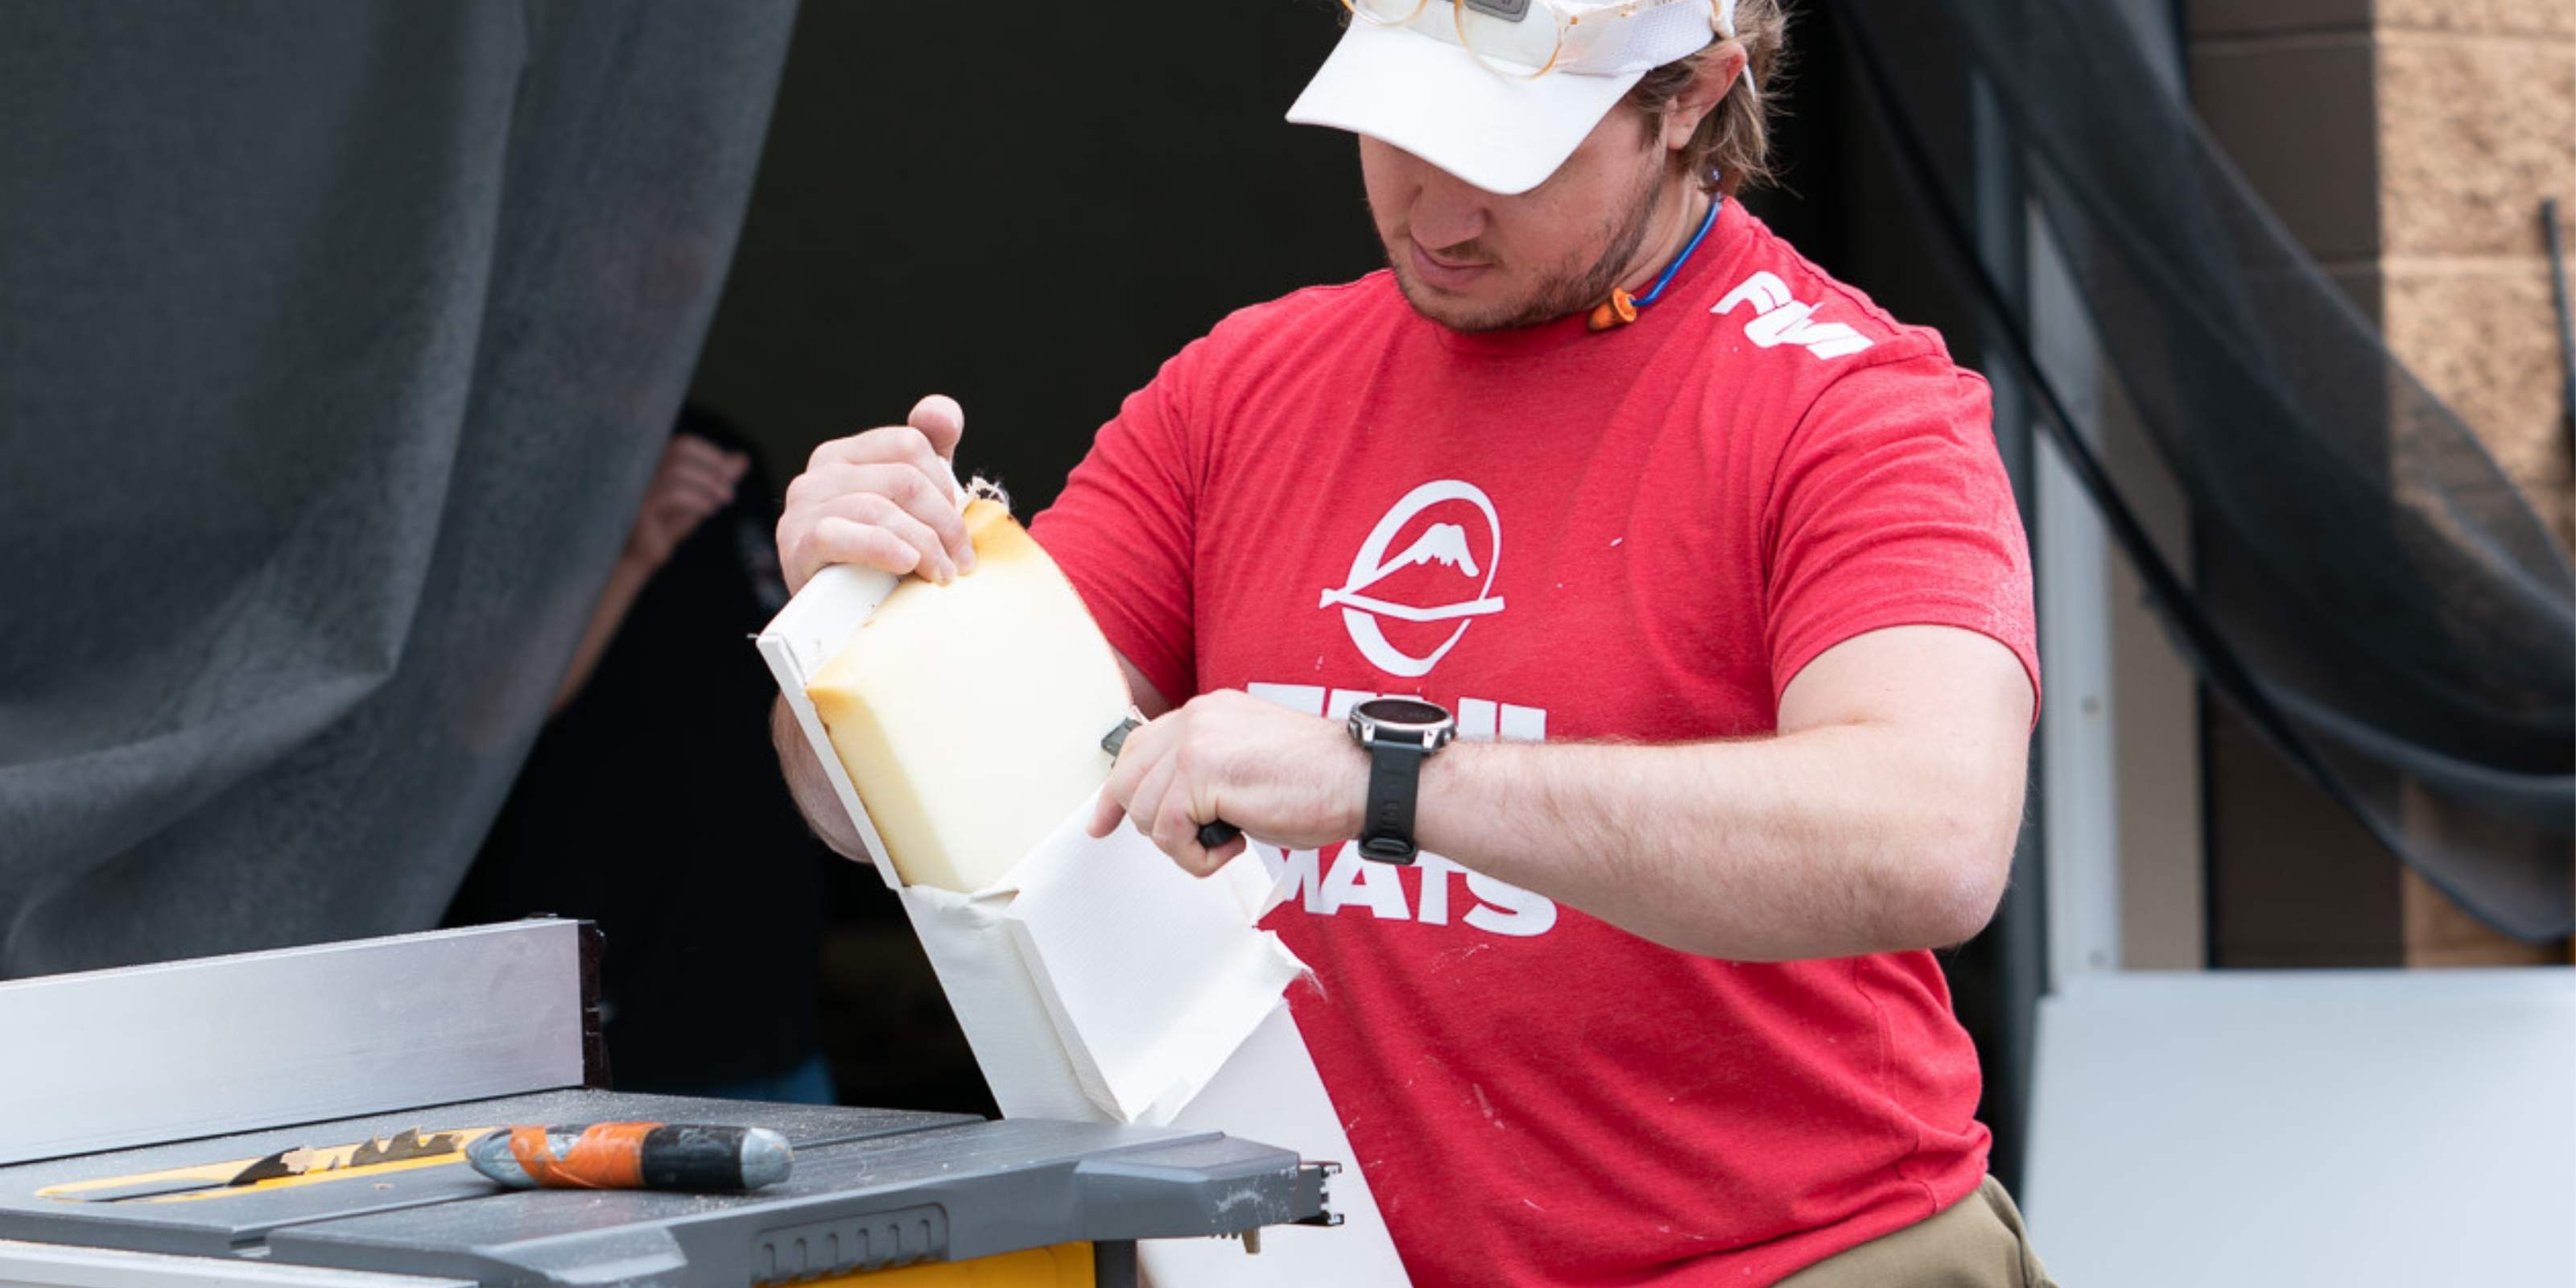
You must ensure that when you cut your FUJI Wall Pad that you only cut the back board and remove the foam of the area but leave the vinyl as is. You must first detach the vinyl cover before you make the cut. Be sure to remove any of the staples left over.
Once you have the cut made, you then take the additional vinyl cover of the Wall Pad and wrap it around the back nice and tight. Be sure to fold the corners in and pull the piece straight back so it has a nice smooth edge. To attach the vinyl to the wood, you may use a commercial stapler, strong adhesive or a strong tape to keep the vinyl in place.
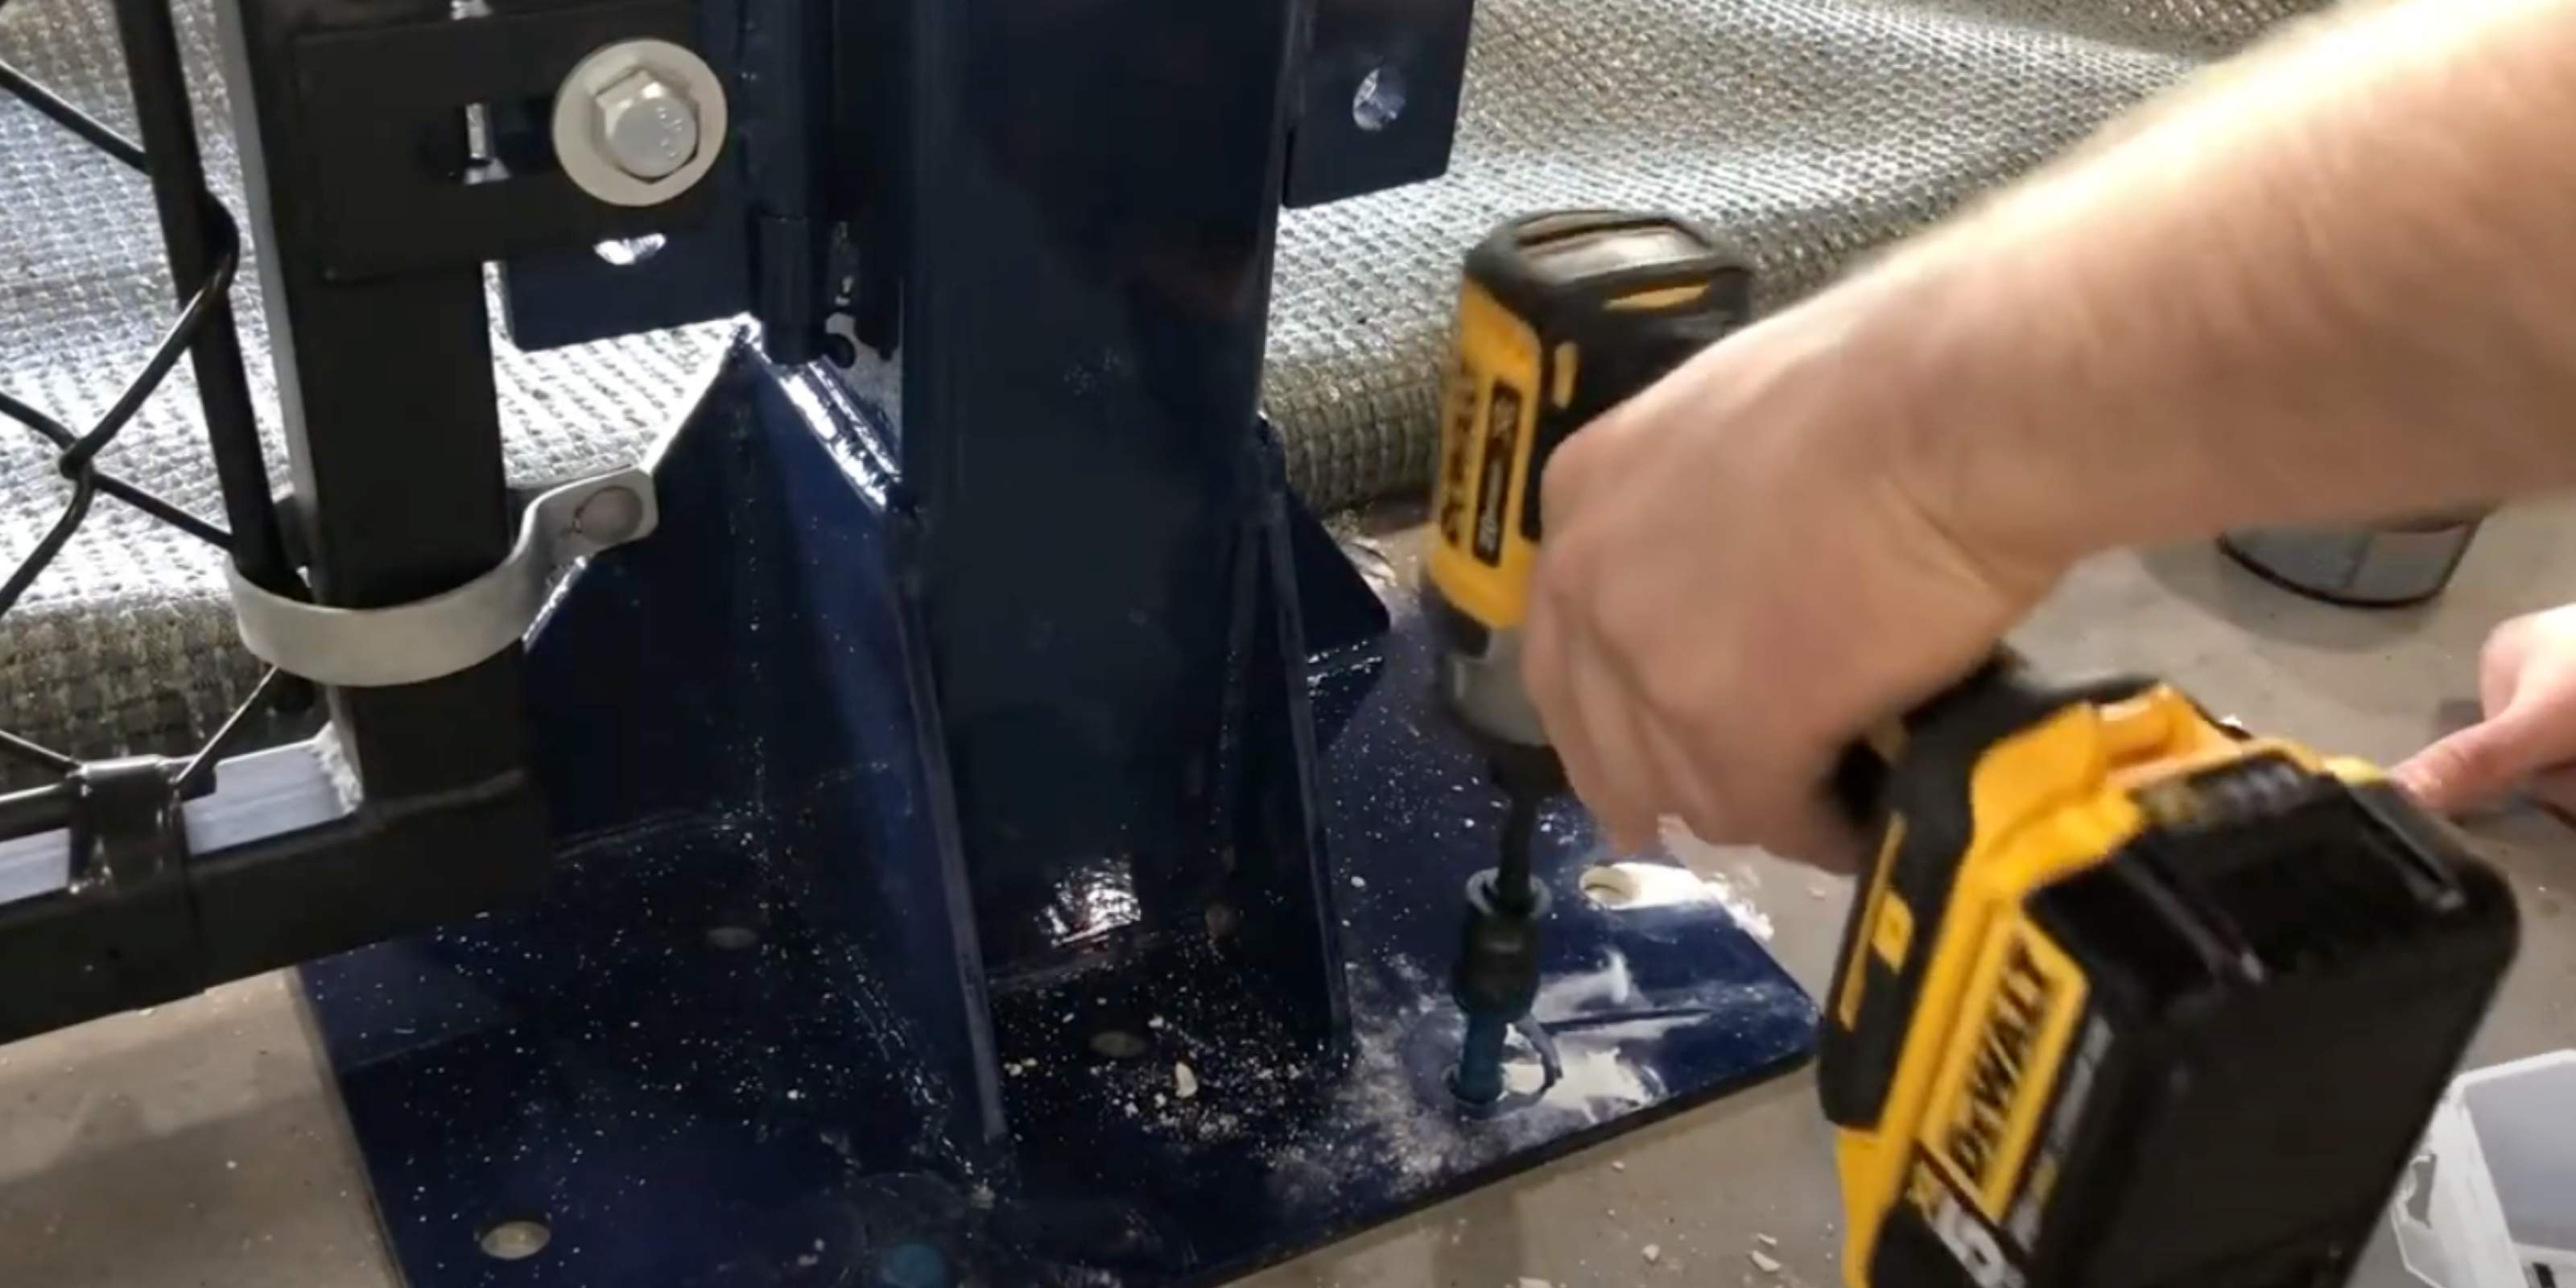
1) Pilot the correct hole size to your anchor specs. (Included Anchors with most Fuji steel orders) Use a SDS hammer drill bit + vacuum out dust as you work for best results
2) Place the post and tighten your Concrete Screw with an impact and socket to 90% snug.
3) Mount Panels / Rails / Beams and loose assemble the bolts and washers.
4) Fully tighten the posts’ baseplates with a wrench or socket set. Do not over tighten.
5) Lastly, fully tighten the bolts and lock nuts on the Panels/Rails/Beams etc.
FUJI: Care & Maintenance Tips
Your mats are of the highest quality and made to perform for many years. To keep your mats looking great, we recommend the following:
Use a suction vacuum when needed to lift and remove dust, debris, hair, etc. A microfiber mop works well too for quicker cleans between classes if needed.
After you dust. Mop your floor with a damp microfiber mop, or lightly spray with and mop. You don’t need much water, just enough to wet the surface to disinfect. Use a small amount of mild detergent + degreaser solution in warm water. Let air dry.
- Always test your solution first on a small, inconspicuous area or a sample.
- Avoid detergents that leave a film on your mats (like Pine Sol).
- Avoid high corrosives; bleach at a 1 oz / gallon ratio can be used as well, but don’t over bleach.
Enjoy your Fuji Floor System for a long time to come!
Call us if you have any questions, we’re happy to help!
INFO@FUJISPORTS.COM ≡ www.FUJIMats.com
Why you need to cut your mat to fit
When it comes to laying out your FUJI Mats, sometimes you have to work around some pillars, wall bump outs or something else. Martial arts facilities come in all shapes and sizes - which is why FUJI Mats created this comprehensive guide on how to cut your mat product.
Let’s get started.
Tools Needed To Know How To Cut Your Mat:
FUJI Mats recommends you only need two tools to cut your mats. First thing we recommend is using a Chalk Line to make your straight line. This way in case you need to make any adjustments you have not made any permanent marks on the mat. Next you’ll need something to cut the mat. There are two great options. One is an extendable Utility Blade Knife. The length is perfect to cut your mat regardless if it is a 1 inch or 2 inch mat. The other option, and the FUJI Mats tool of choice, is a Jigsaw Tool with a serrated blade. The serrated blade is made for specifically cutting through foam extremely smooth and quick.
When You Need To Cut Your Mat:
Like we said, gyms come in all shapes and sizes. FUJI Mats will get you the exact number of mats you need and we will even let you know how many mats you would need to cut to ensure a perfect fit. However, some spaces may have some wall bump outs, pillars or maybe just does not fit a full mat - either way, we have you covered.
You want to ensure all of your mats are packed together nice and snug but not so tight where they bow or bend. Cutting your FUJI Mat ensures the perfect fit and a professional look and feel for your gym.
How To Measure & Cut Your Mat to Get The Perfect Fit:
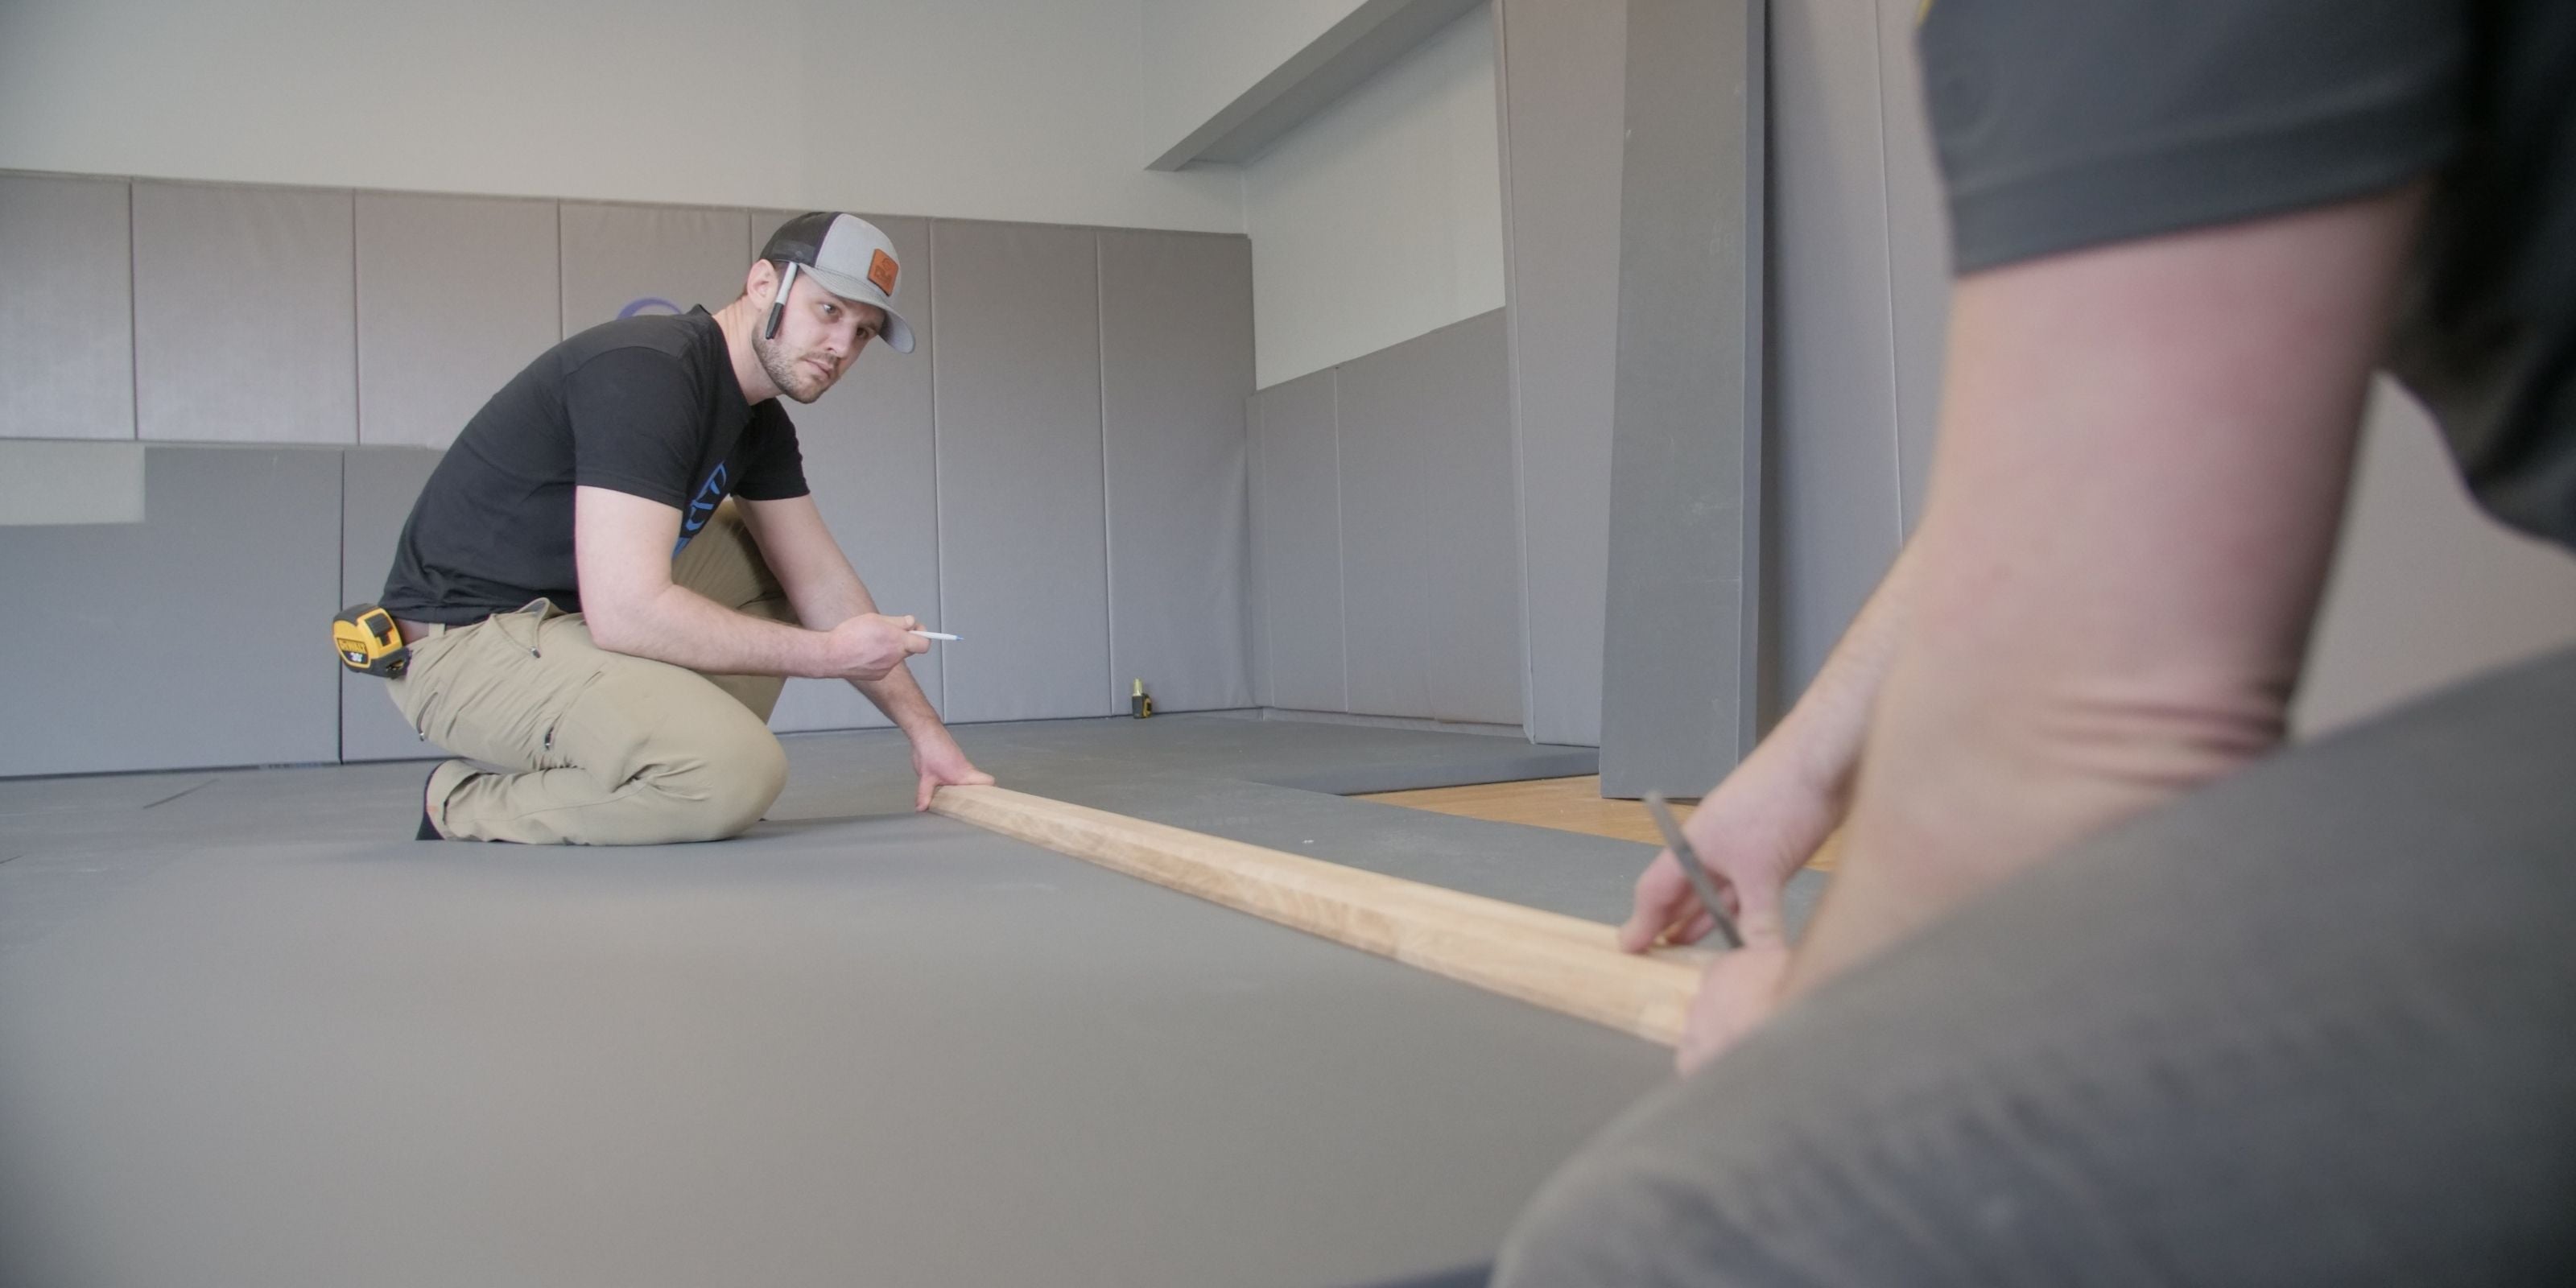
For a quick run down, measure the distance between the top of the mat area and the bottom of the mat area and your wall/space. Be sure to add +1/8 or +1/4" to ensure you pinch the layout tightly.
What If I Need A Finished Edge:
For a full breakdown on how to cut your FUJI Martial Arts mat with a finished edge click here.
Measure where you need the cut but leave an additional 3” of space in order to have enough vinyl to wrap around the edge for a finished look. Be sure to mark the actual length you need filled too. Once you make the cut using the utility knife or jigsaw tool, cut just along the top of the mat (roughly .5 - 1”) beneath the surface to your mark and do this on both sides of the mat. Then pull the vinyl off of the foam (sometimes pliers can help). If any foam sticks to the vinyl just peel it off. Then cut the rest of the exposed foam (NOT THE VINYL) off of the mat. You will want to use painters tape to hold the vinyl for the finished edge pulled back and clear of the area you need to cut. Once you are left with the mat and additional vinyl needed, stretch the excess vinyl over the unfinished edge and we recommend using 3M77 Spray adhesive and duct tape to hold while the adhesive sets.
Did you know we also offer installation services? Speak to your FUJI Mats Specialist about having our team come and assist you with the installation.